
Introduction
Audience: End Users
This manual explains how to use the Lialis Shareflex Teamroom application on SharePoint Online.
The focus of this manual is on viewing content, modifying content and creating new content.
Viewing content
When opening the Shareflex Teamroom site, depending on the setup in your company, you might see links to the different Teamrooms.
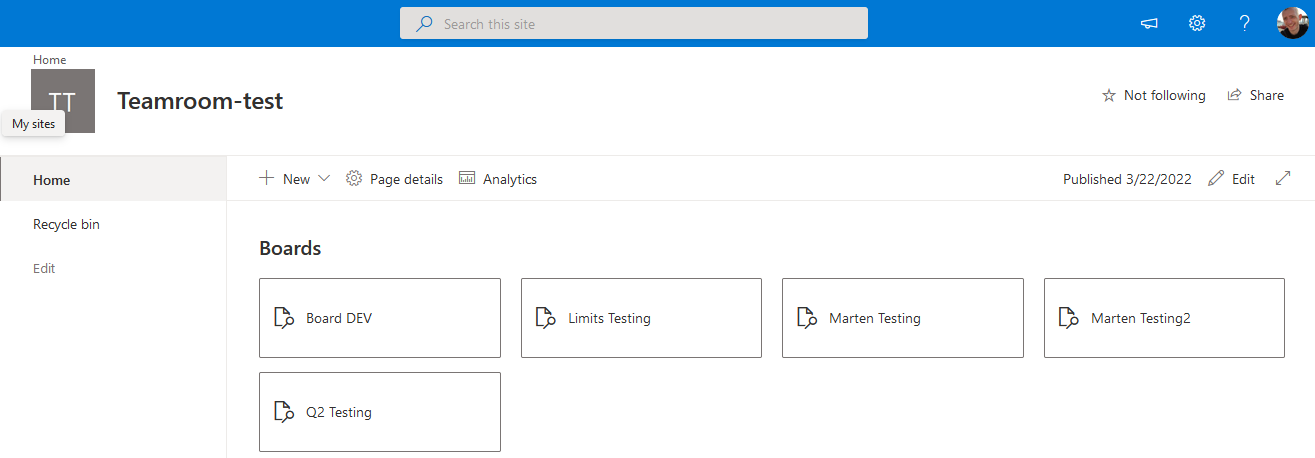
In this guide the Q2 Testing Teamroom will be used.
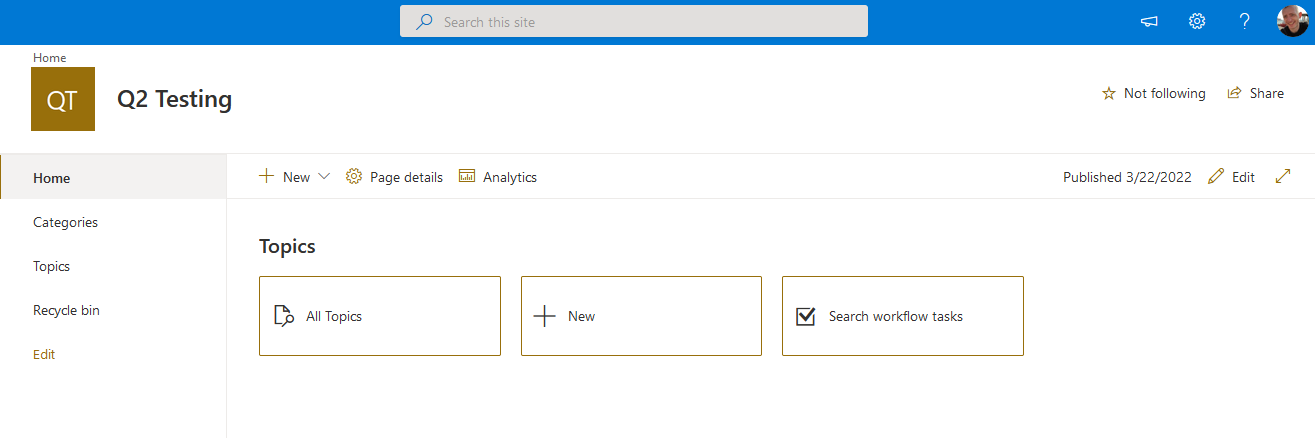
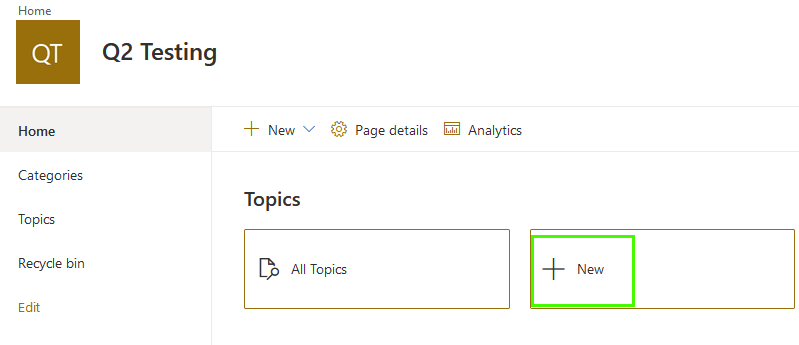
There are 3 buttons on the home screen.
- All topics which displays the list of items or main topics in the Teamroom
- New, to create new items or main topics
- Search workflow tasks to access the workflow tasks, this will be explained later on in this guide
In the left pane there are also links to the same.
- Home brings you back to the start screen which I display now
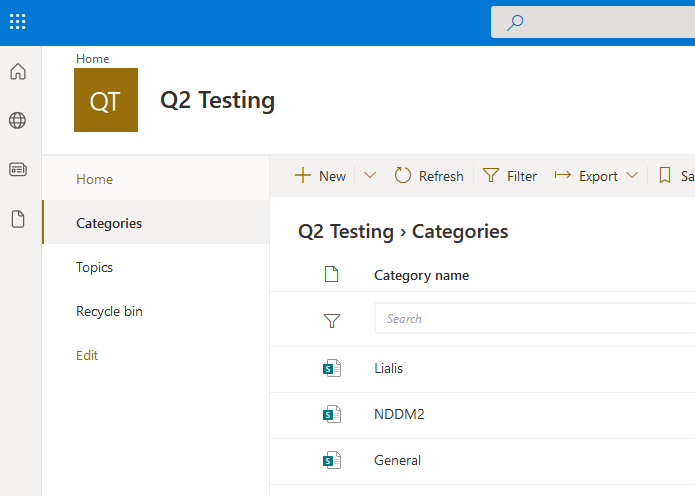
- Categories displays a listing of categories you can use when you create new content, this will be explained later on in this guide
- Topics link is the same as the button all topics here on my screen
View the content in the Teamroom by pressing All Topics.
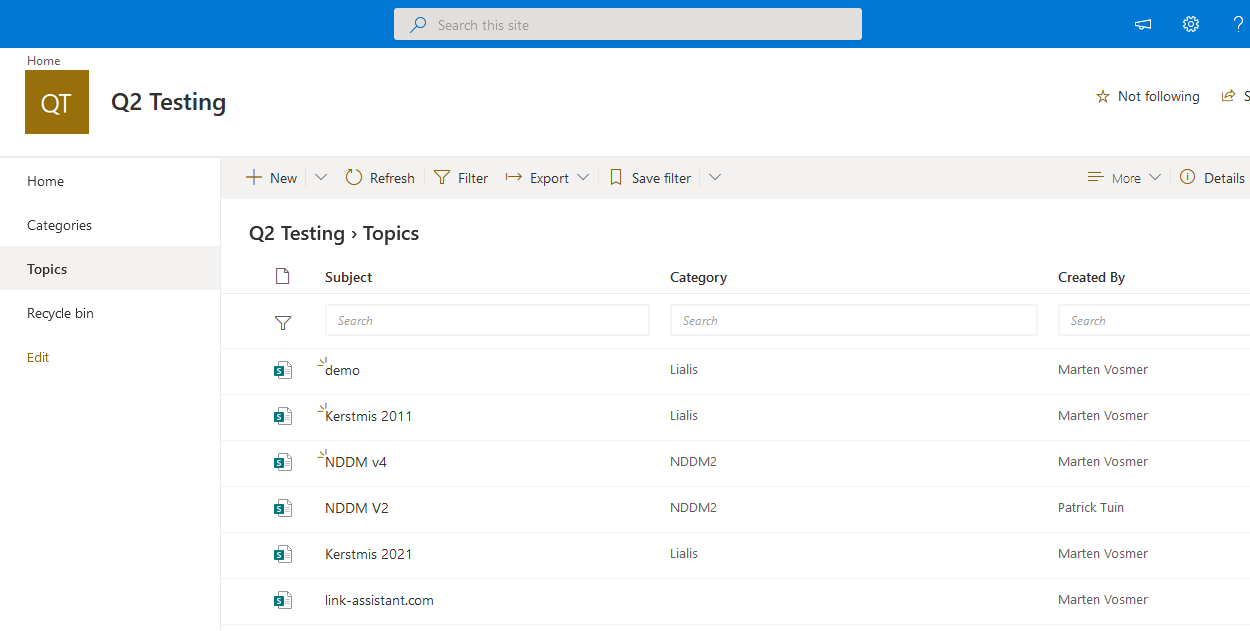
A listing of topics is displayed in this view.
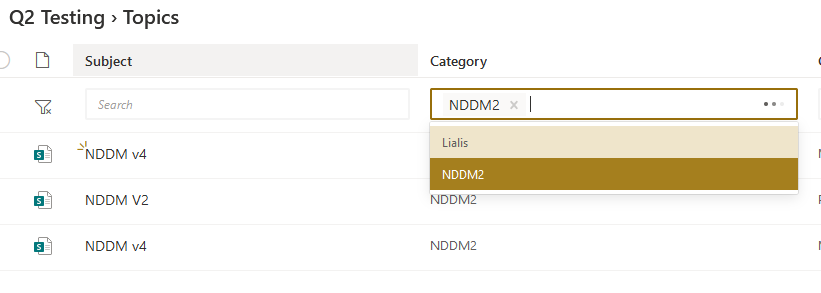
There are easy ways to use the subject and category filters to narrow down the list and find the topics of interest.
Opening a topic will show the details stored in it.
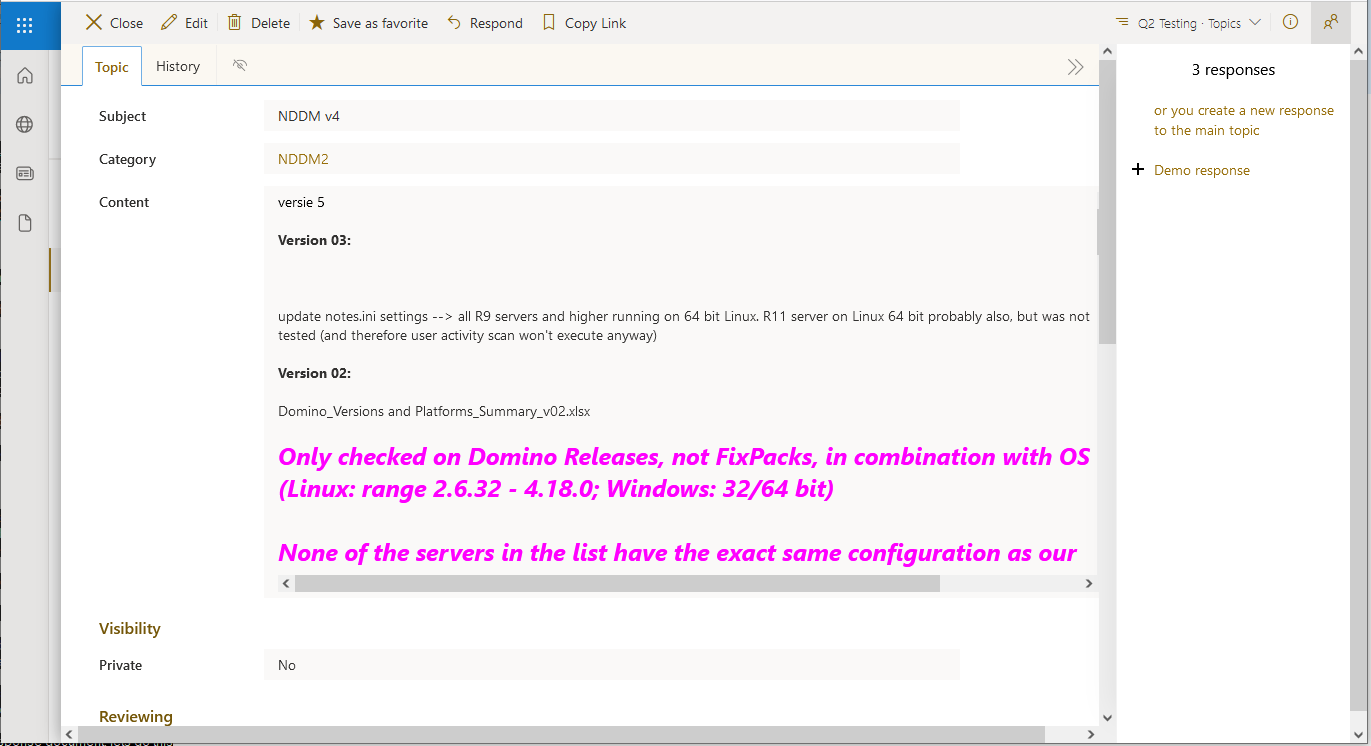
The subject and the category is displayed.
The content field displaying rich text and images.
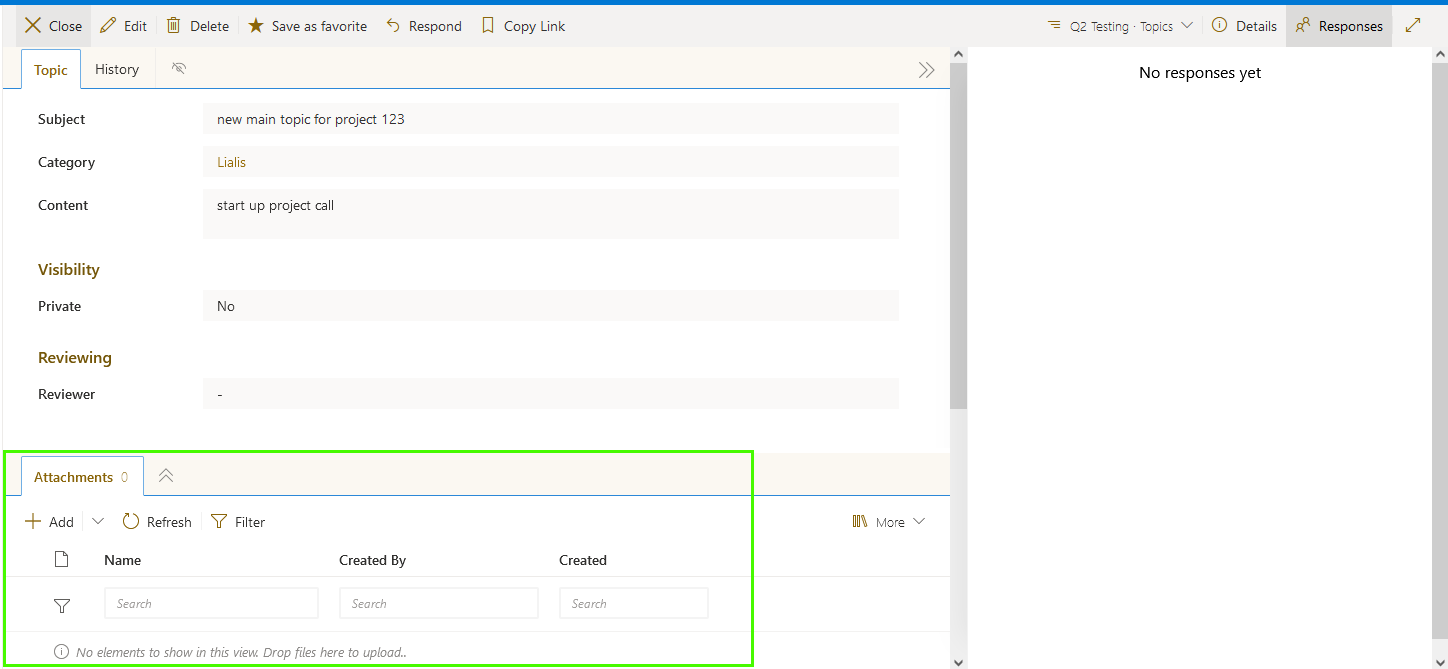
Working with files
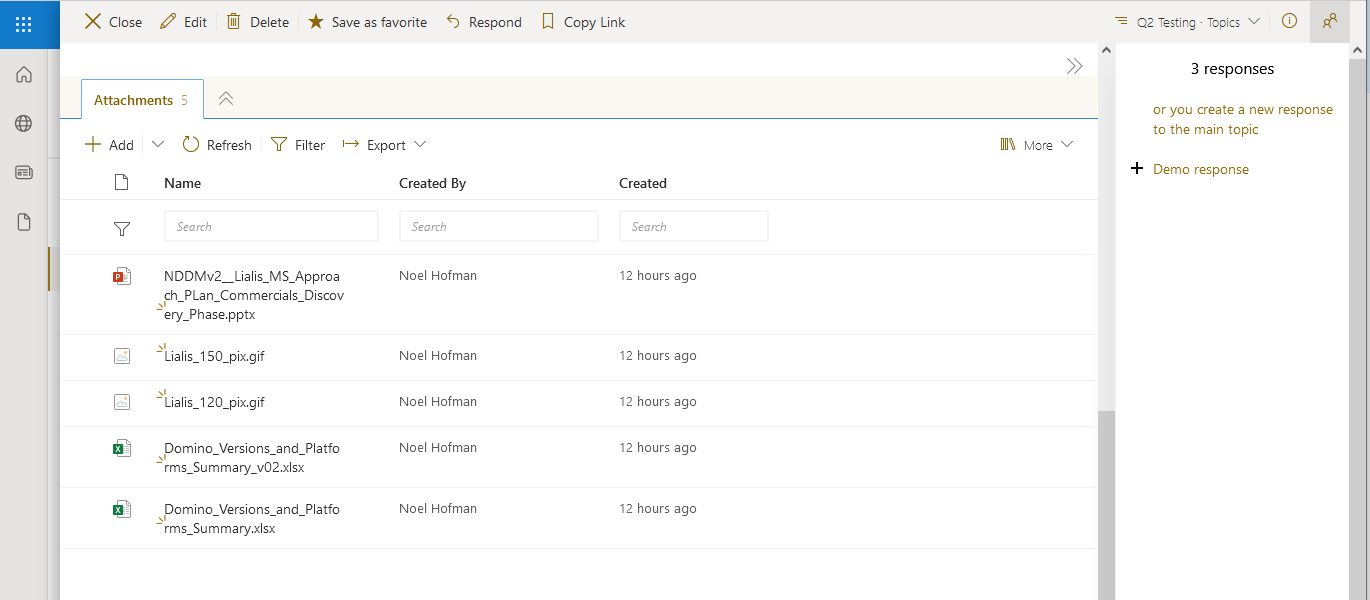
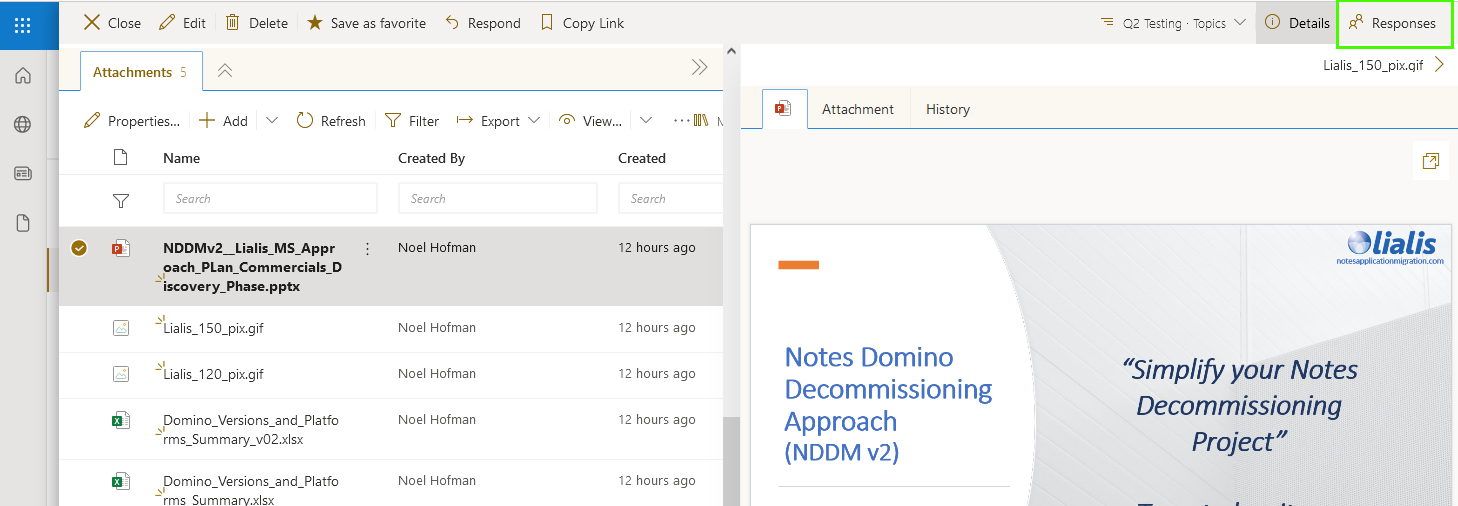
The files associated to this topic are listed at the bottom of the screen.
Pressing the files icon it will display a document preview in the right pane, for quick access.
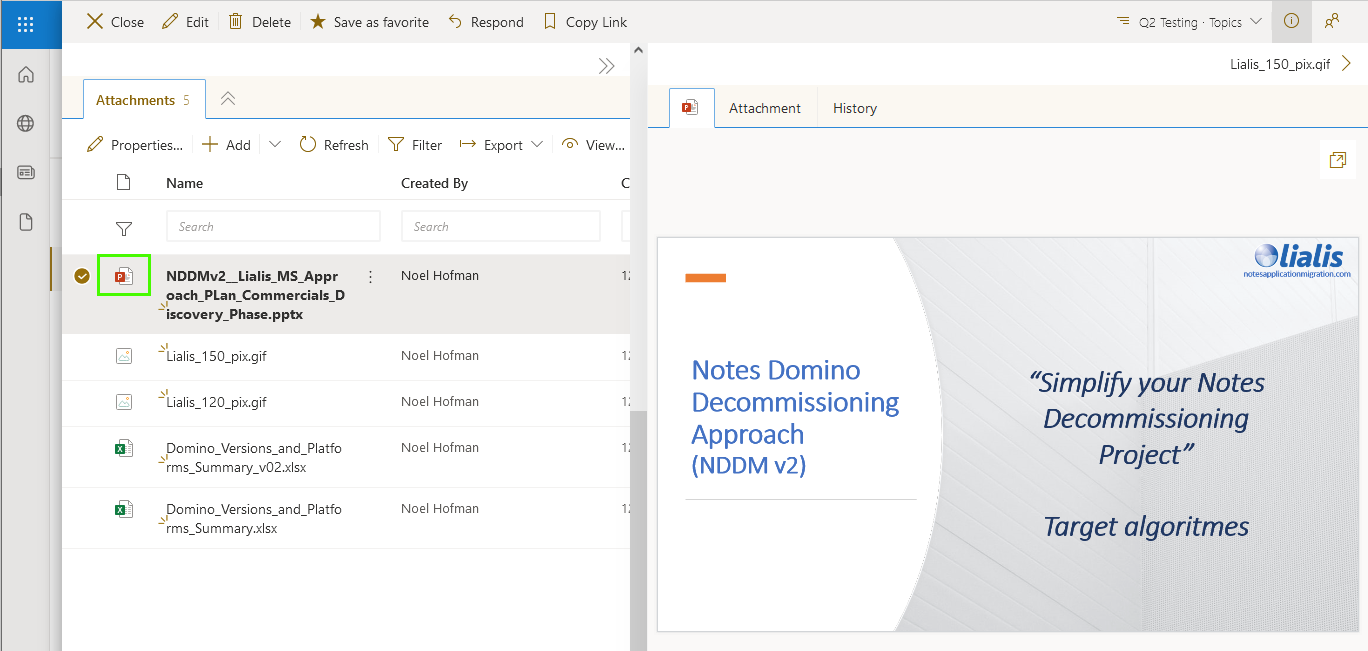
Click on the file name the file will be opened in the O365 online editor allowing users to alter the file. Changes made to the file will be saved immediately.
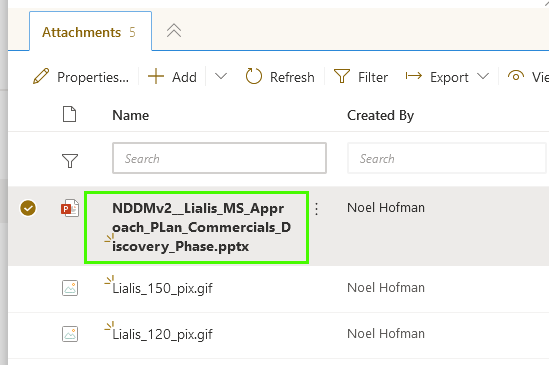
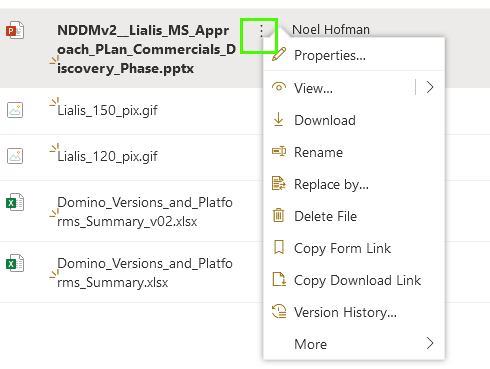
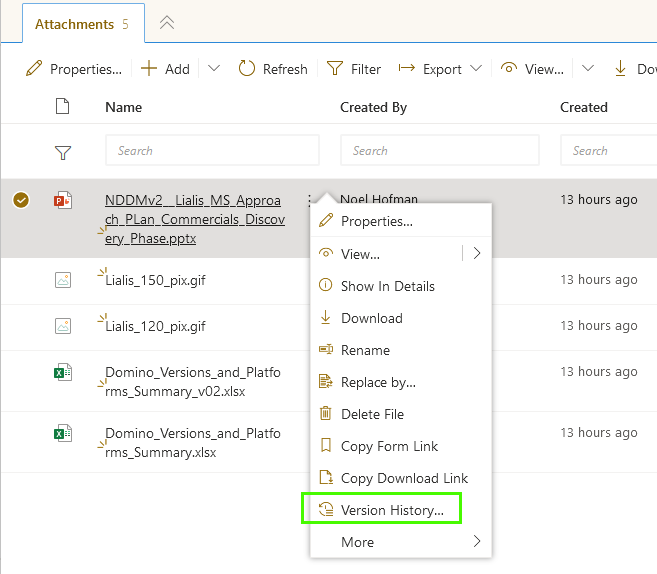
These 3 dots will give access to all sorts of file properties like version history or download a copy to you PC.
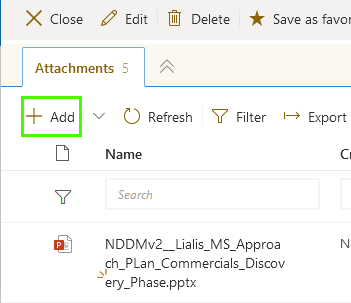
Its possible to add files by pressing the Add button or by drag and drop from them PC.
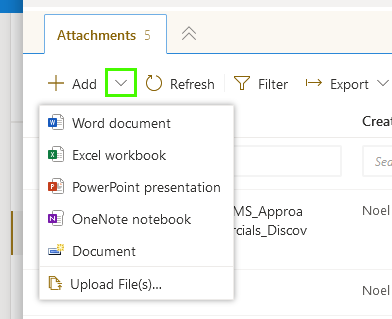
This drop down icon displays more methods of creating new files, like making a new word document.
Its not necessary to put the main topic in edit mode when working with the files.
Editing the main topic is only needed when changing the subject, category and or the content field,
Response items
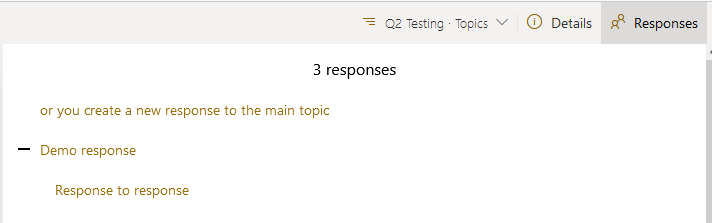
Pressing the Responses button it will display response documents the main topic might have in the right pane.
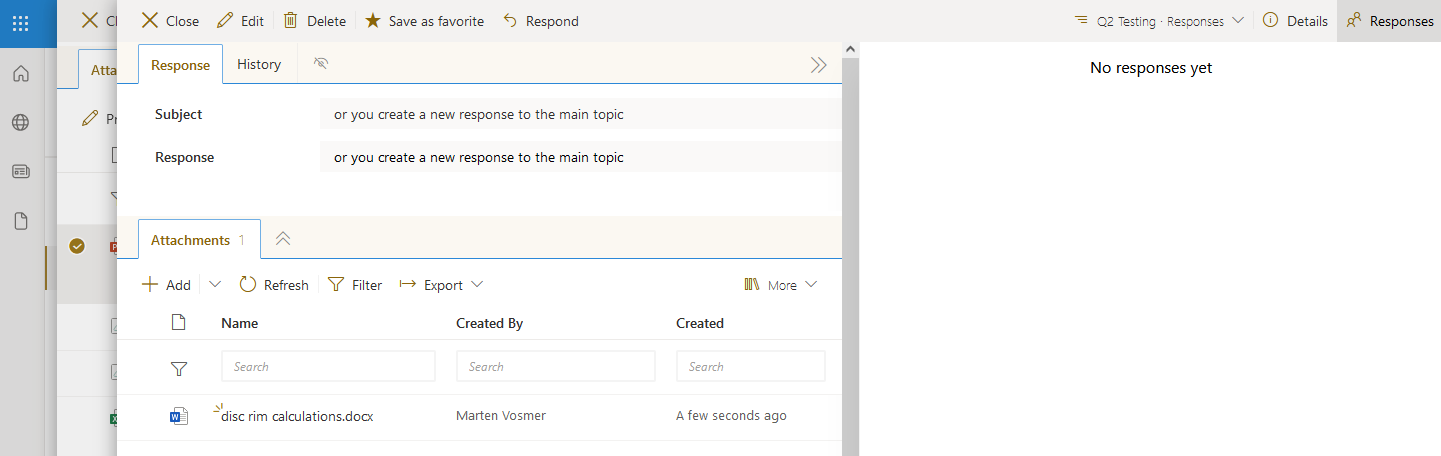
The response item and the form looks similar to the main topic, there is a subject, the content field and the attachments, they all behave in the same way as the main topic does. The category is not present on the response form because the category is only used by the main topic.
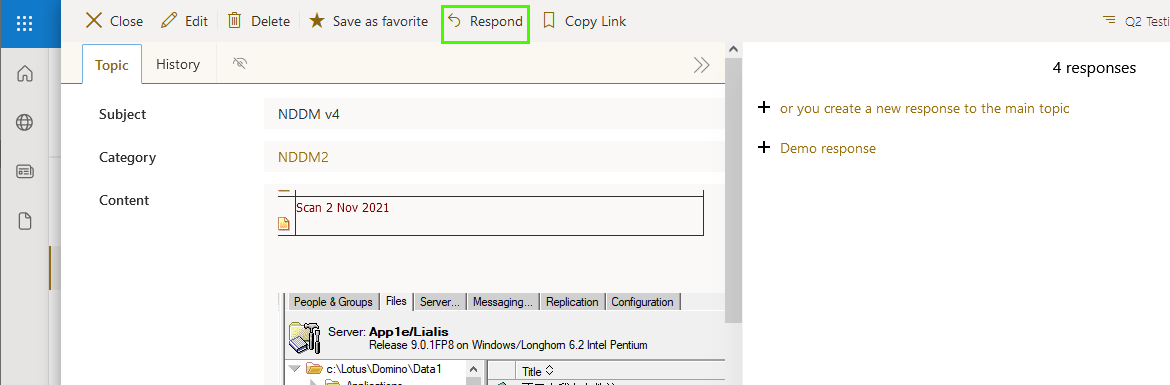
Creating a new response to the response document is done by pressing the Respond button.

You may also create a new response to the main topic by opening the main topic and press the Respond button.
At any time its possible to modify the responses, add or remove files, add content.
Its possible to create a long response to response structure if this is needed.
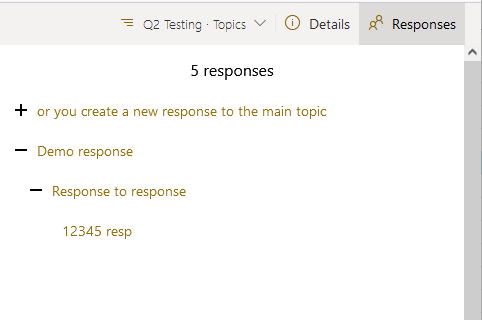
The responses are not displayed in the topics view by the way, the are only displayed when you open an main topic
Deleting content
When a response is deleted the associated files are also deleted, along with the response document.
When a main topic is deleted the responses and all associated files are deleted.
Sharing
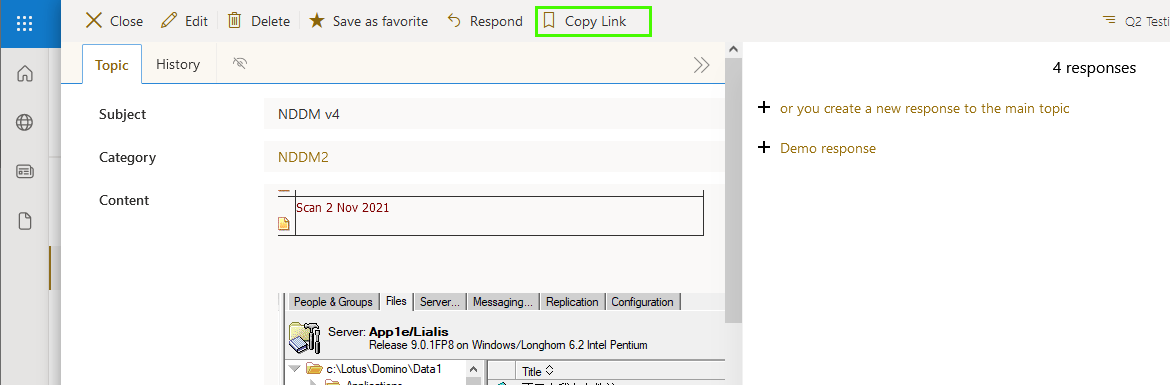
Use below highlight button to create a link to the main topic and share it with a colleague. Copying the URL from the browser address bar will not create a link to the item on the screen.
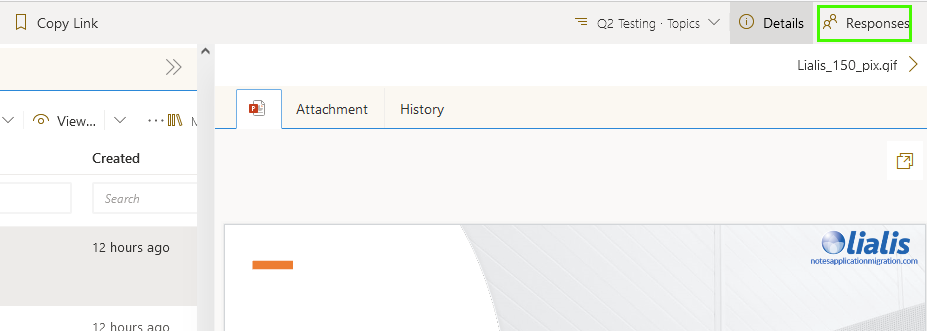
Remember when a file is displayed in the right pane press Responses to get the responses back on the screen.
Creating new main topic
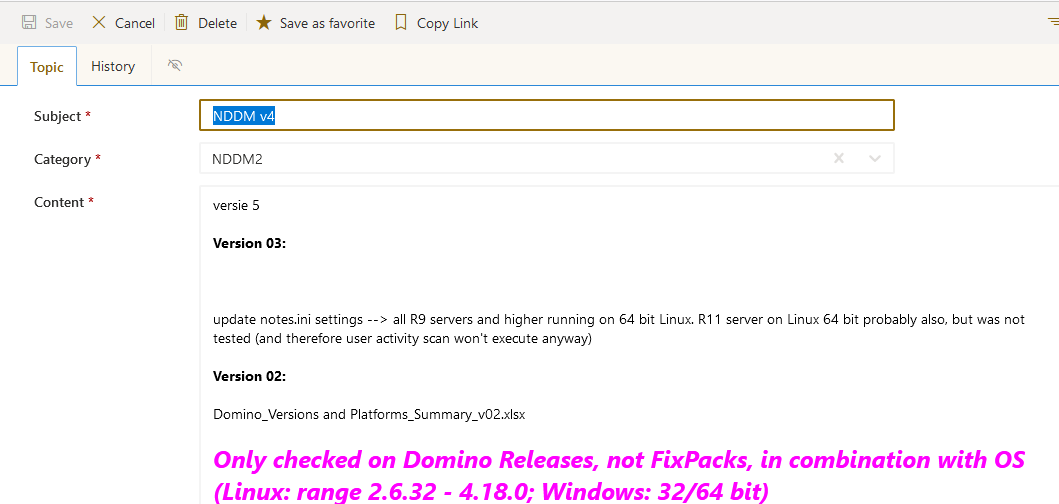
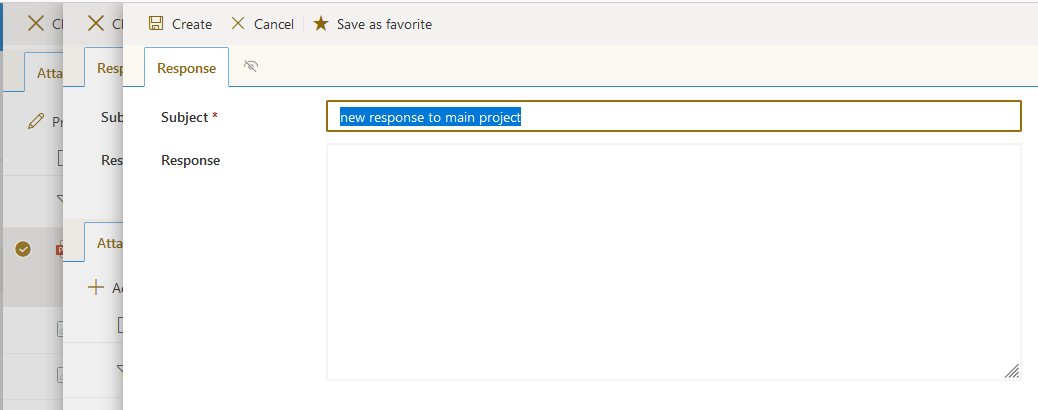
Creating new main topic by pressing the new button, please enter a subject and choose a category.
If the category is not present in the list it has to be created in the categories listing first, this will be explained later on in this manual.
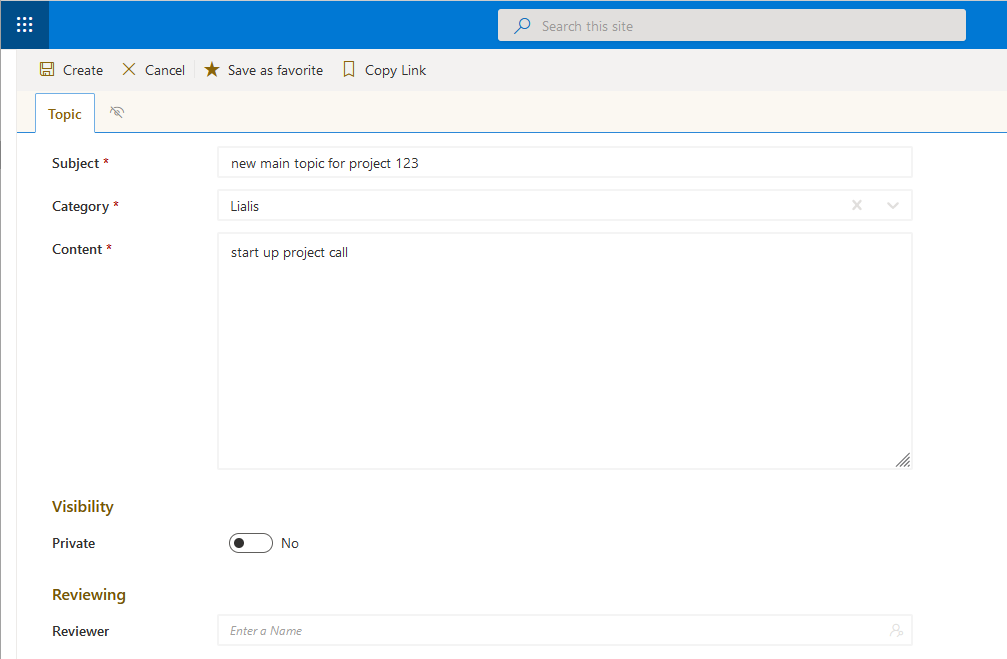
The content field is mandatory, please can add information on the usage of this main topic for example.
Press press Create for the topic to be saved. Then the place to add files will be displayed on the form
Private
The private button will make the main topic, all files and all responses with response files private for the people who have been selected. Other people will not be able to see these contents. Removing the users from this field will undo the private operation. Its not needed to add your own name in this field, this is done by default.
History
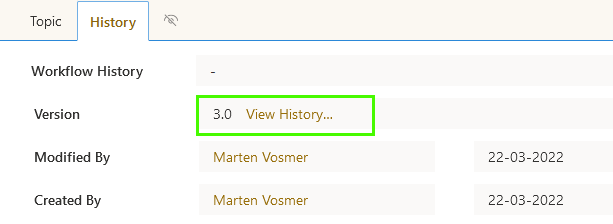
The main topic and response forms display a history tab where the history of the main topic can be displayed.
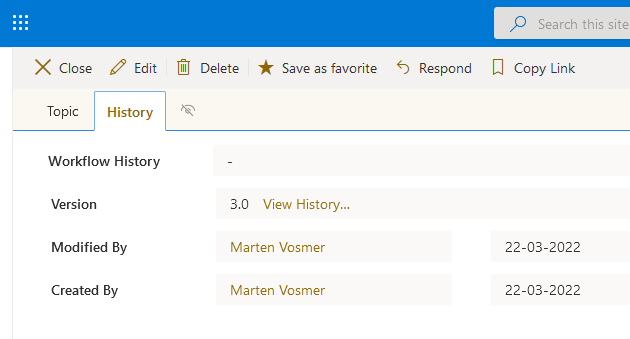
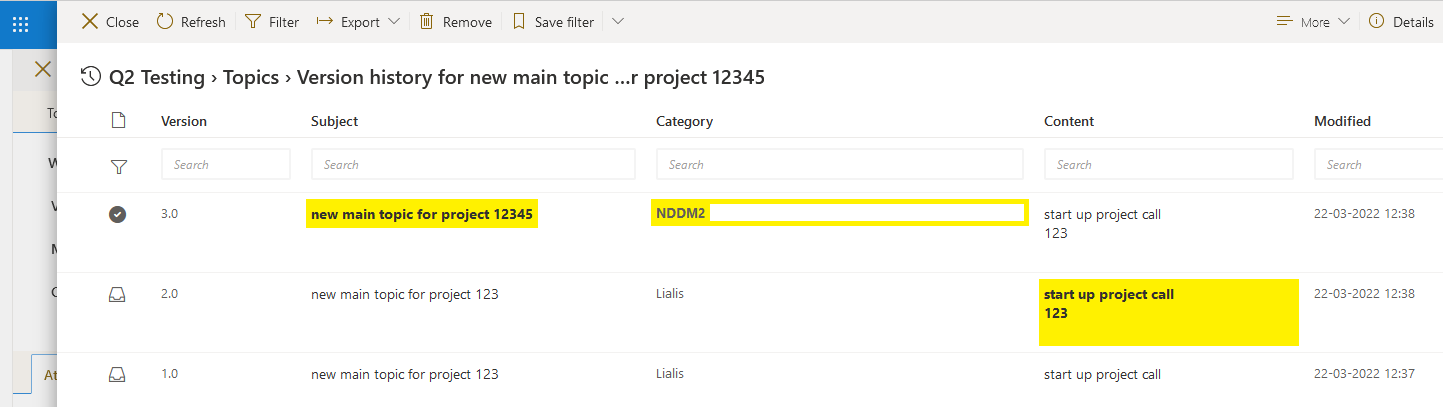
The history shows old versions, what has been changed and its possible to restore an previous version. Its possible to use the other mouse button to show the restore menu as well.
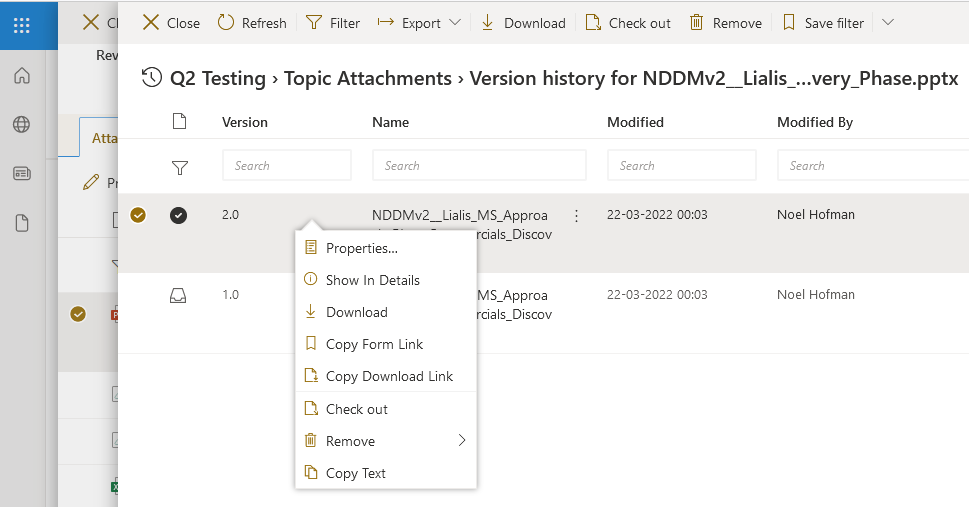
The files versions are not displayed in the main topic versions screen. The files attached have their own version history and options to restore previous versions.
The image below shows the versions of a certain file attached to the main topic.
Categories
The categories list is used to manage the categories used in the main topics. Its possible to add new categories, rename categories or delete categories.
If a category is renamed all main topics having this category will be updated.
If a category is deleted the category will also be removed from the main topics, so next time the item is edited a new category has to been set.
Review workflow
The main topics have a review workflow which the user may want to use.
This workflow will not lock the form when the item is approved for example.
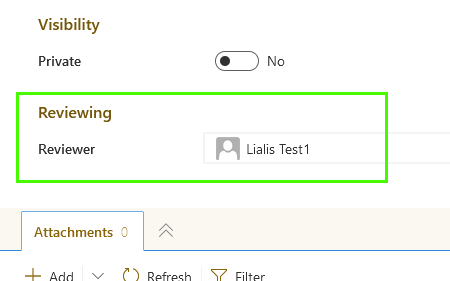
To start the workflow simply add a reviewer of your choice.
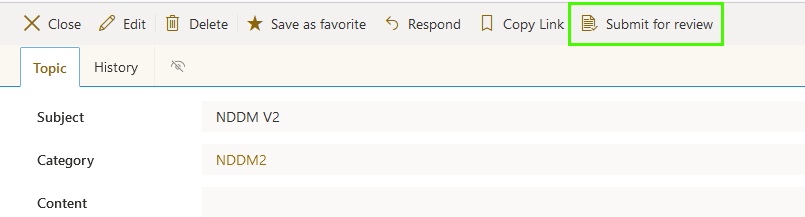
Then save the item. After saving the Submit for review button is listed which must be pressed to start the review cycle.
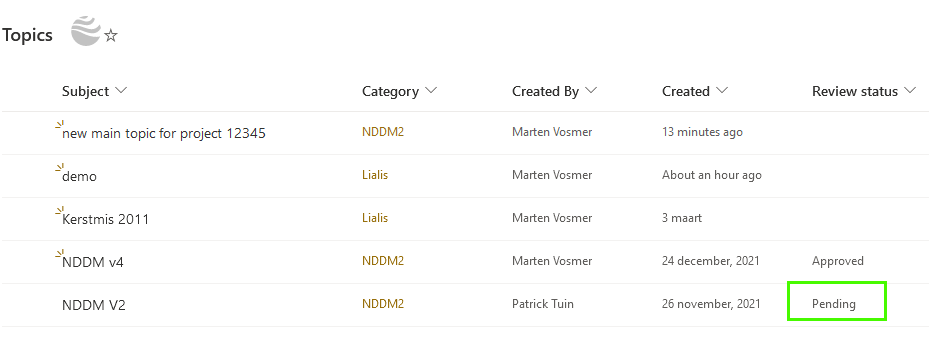
When the workflow is started the view will display the review status is pending.
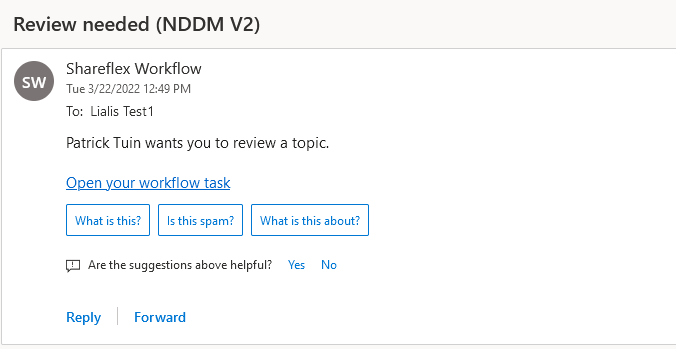
The user will receive an email where he or she is requested to review your item.
On the approval page the approve options are displayed on the left and the item details are displayed on the right.
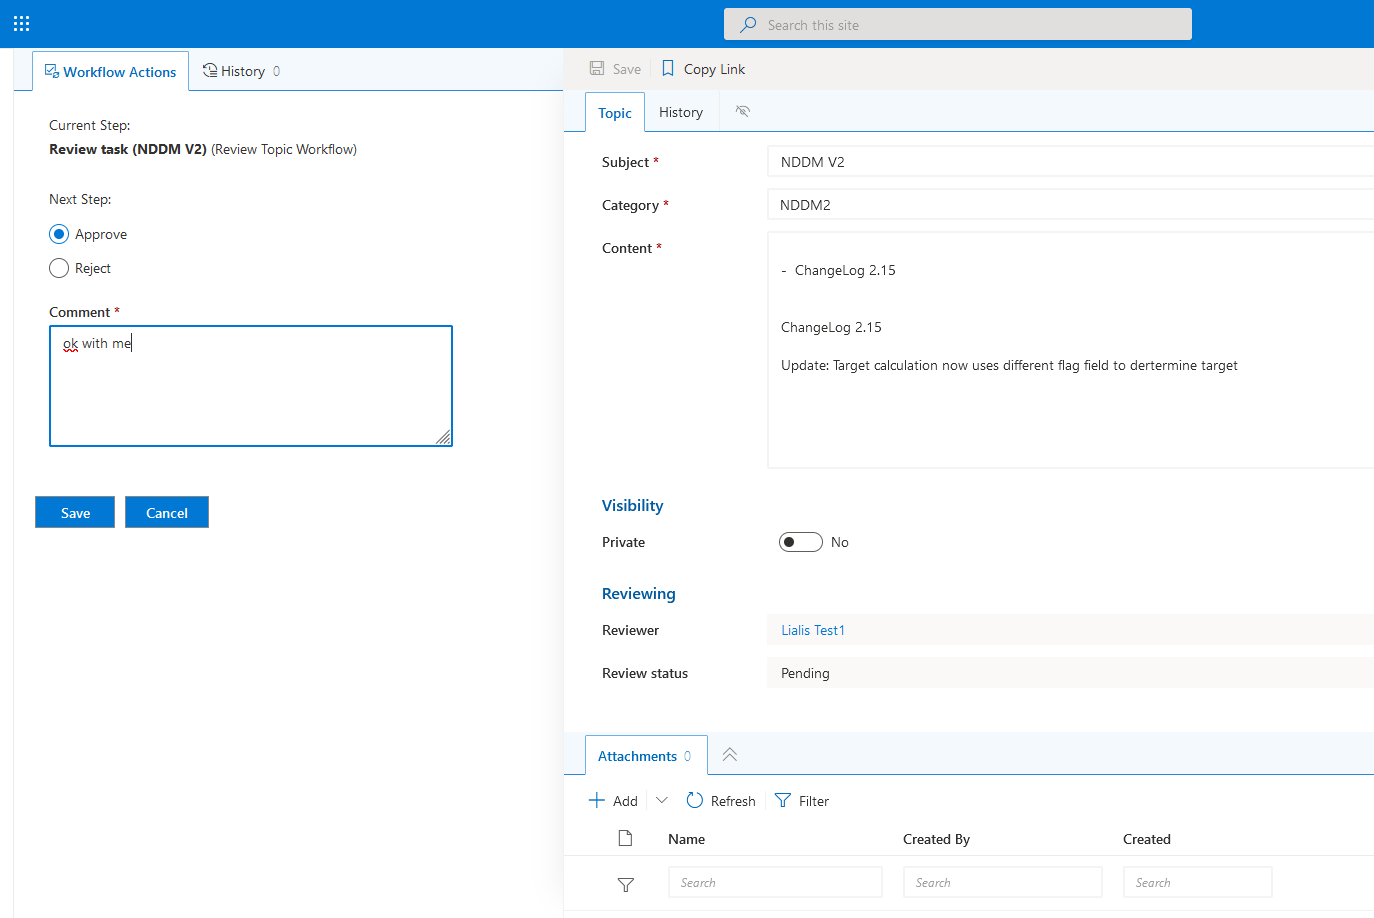
The item is approved when the save button is pressed.
The user initiating the workflow review will be notified by email of the status changes.
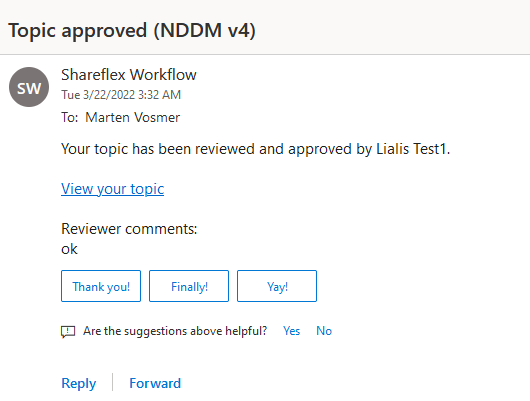
The main topic view shows the status as approved.

The workflow history can be viewed as well under history
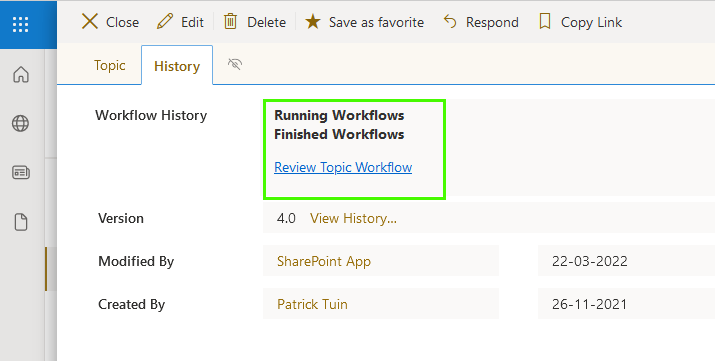
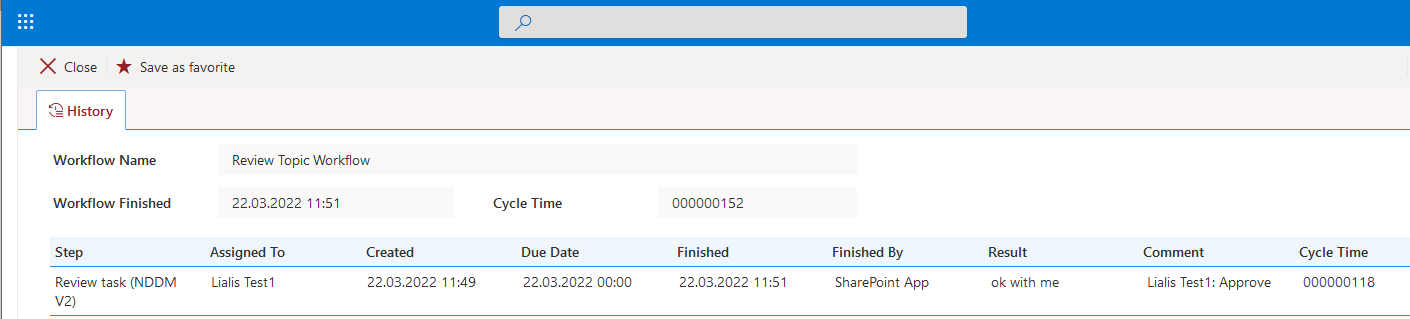
Its not possible to resubmit the item for a second workflow – after approval the topic is not locked, so users may change the content later on.