
User Manual Shareflex Law Practice Software
Shareflex® Law Practice for SharePoint Online is a legal case file management system for lawyers that seamlessly integrates with Microsoft 365 SharePoint Online. It offers complete case and relationship management with perfect integration with MS Office (Word, Excel, etc.), without the need to install software on your PC. You manage cases with documents, emails, tasks, hours, and invoices, working directly in the browser with Word documents (or in the desktop app). All data is securely stored in your own M365 environment, with a SaaS subscription per user per year for Shareflex Law Practice. The software is user-friendly, flexible, and provides extensive search and version control options. Mobile access, invoice generation, and email integration will be added by the end of 2024. The system was developed by Lialis on the Shareflex platform, owned by Portal Systems.
The software is very user-friendly. Therefore, this page only describes the special features; obvious matters are skipped. This keeps the manual short and clear.
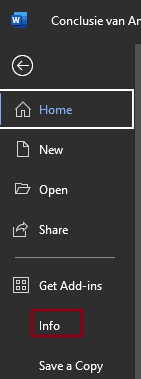
Cockpit
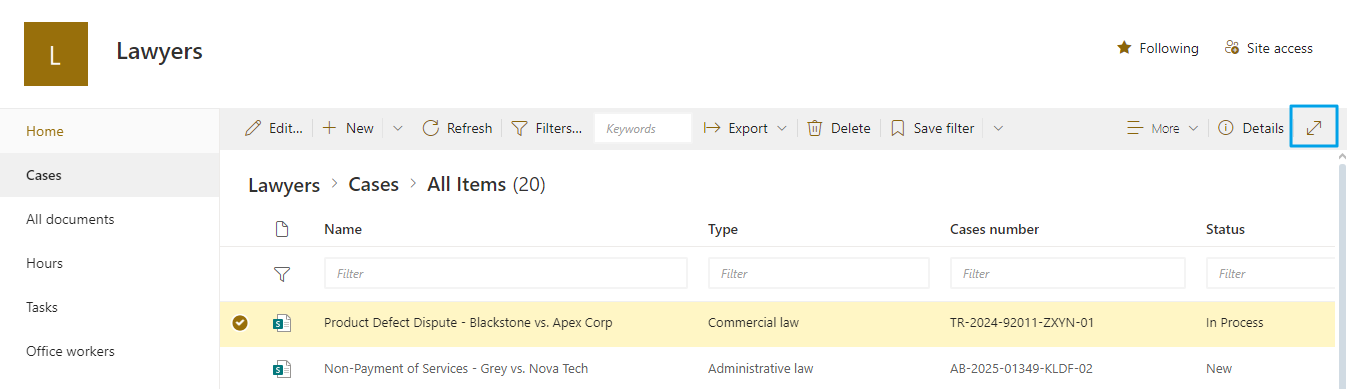
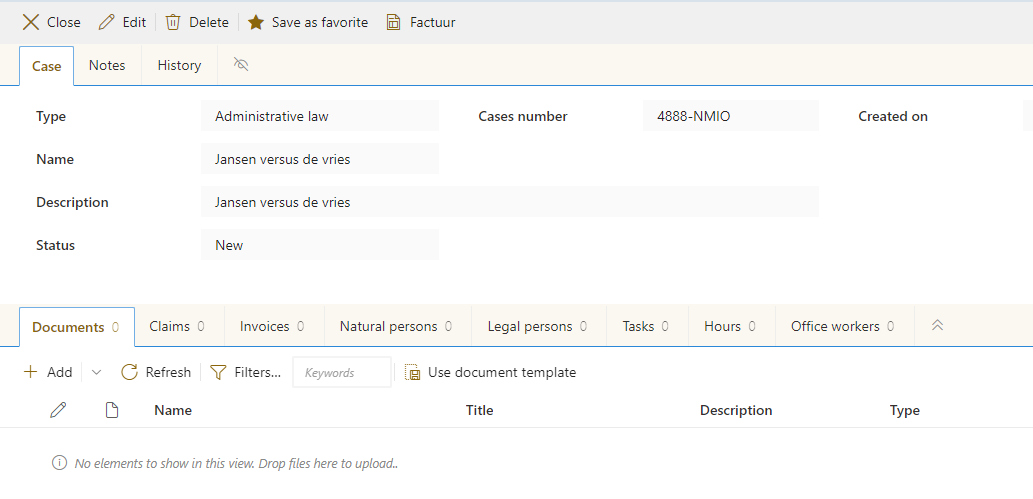
Working on cases and creating new cases should be done under the Cases section.
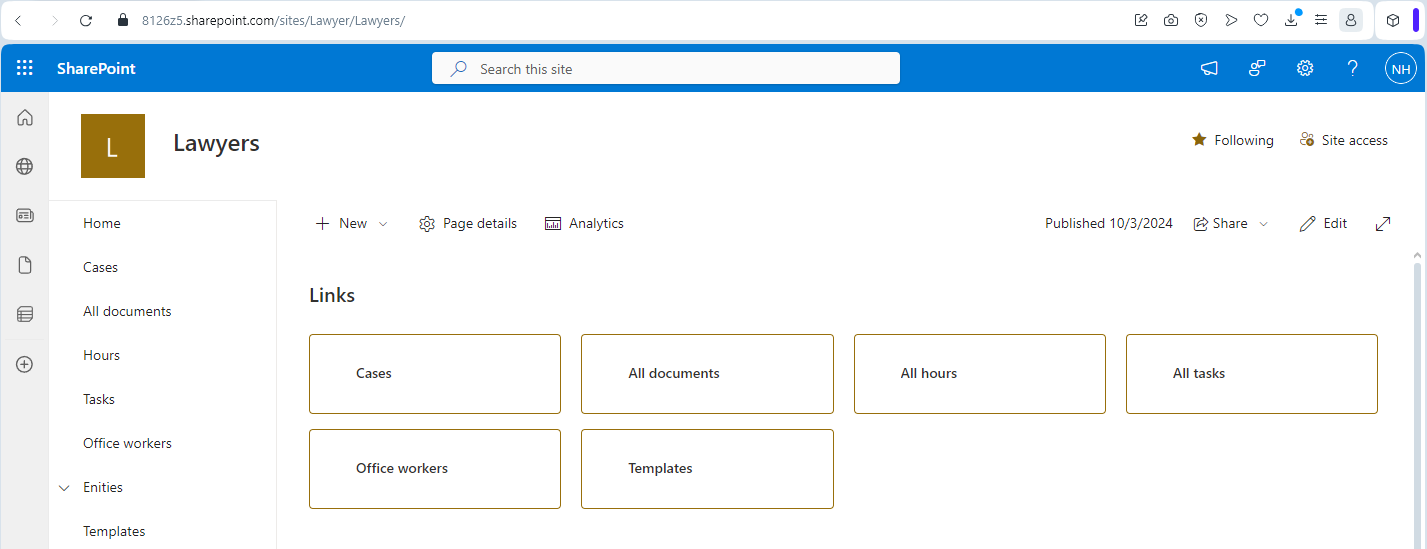
The lists All Documents, All Hours, and All Tasks display this information for all cases. This can be useful if you are looking for a specific document but do not know exactly which case it is in. In these lists, you cannot create new cases, but you can delete and modify existing ones.
You can set up the people working in your office under Office workers. These individuals can be linked to a case. This link serves no purpose other than as an organizational indication of which people are working on which case.
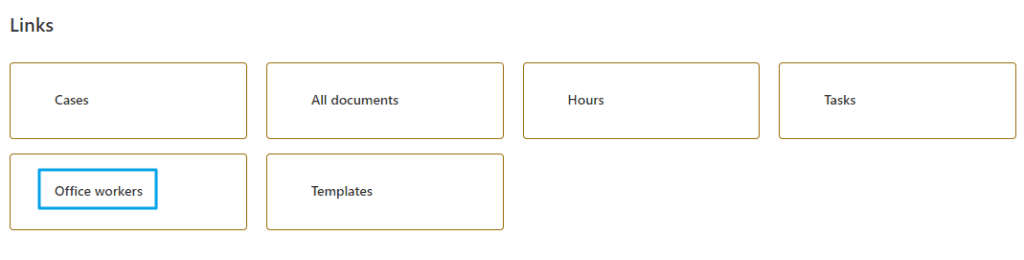
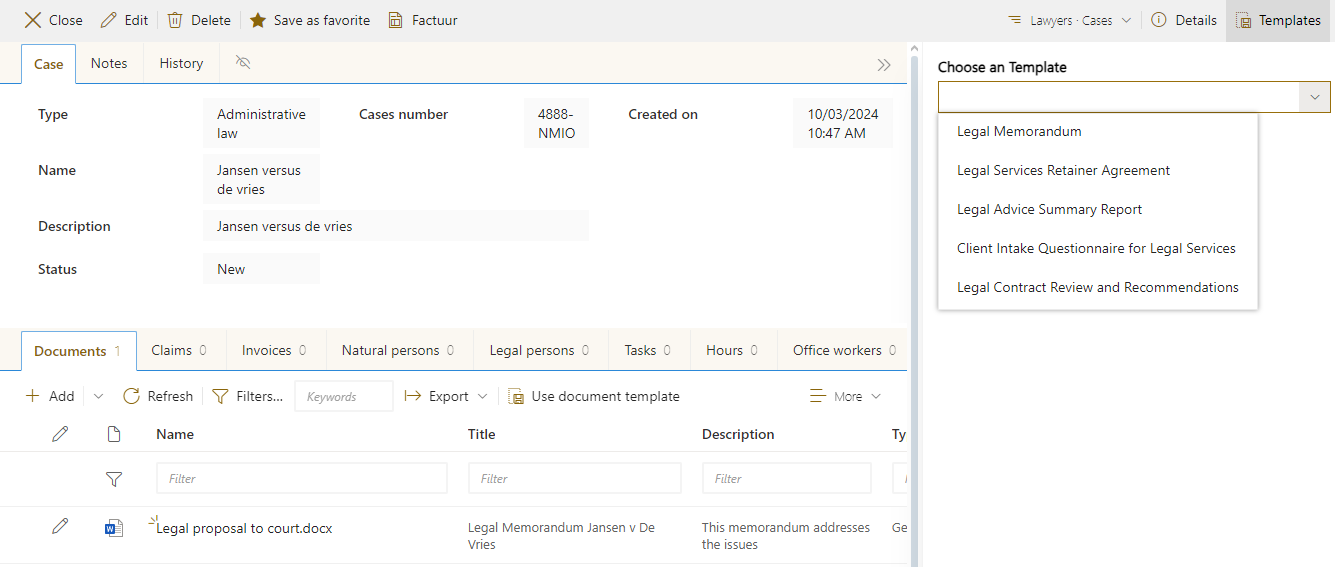
In the cases, you can create new Word and Excel files based on an MS Office template. You manage these templates under Templates.

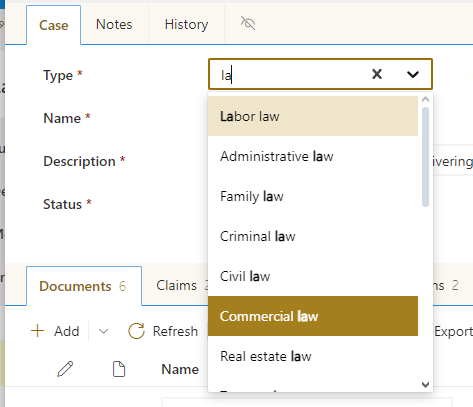
Various places in the case files feature dropdown lists, such as the status of a case: active, pending, closed. You can set all the options yourself under Lookups.
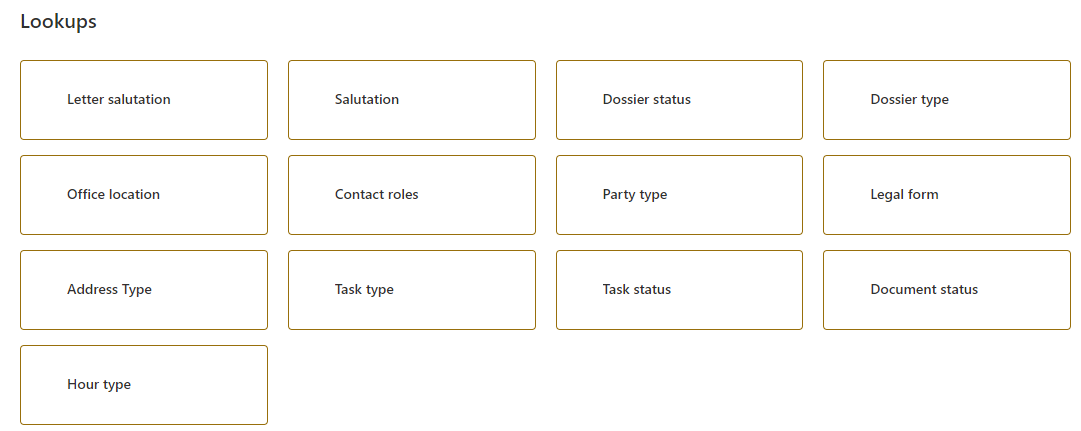
By default, we provide the lookup data pre-filled, but you can adjust this as you see fit.
General Functions
This section discusses general and very useful functions that are available throughout the application. We will explain these first before delving into working with the cases.
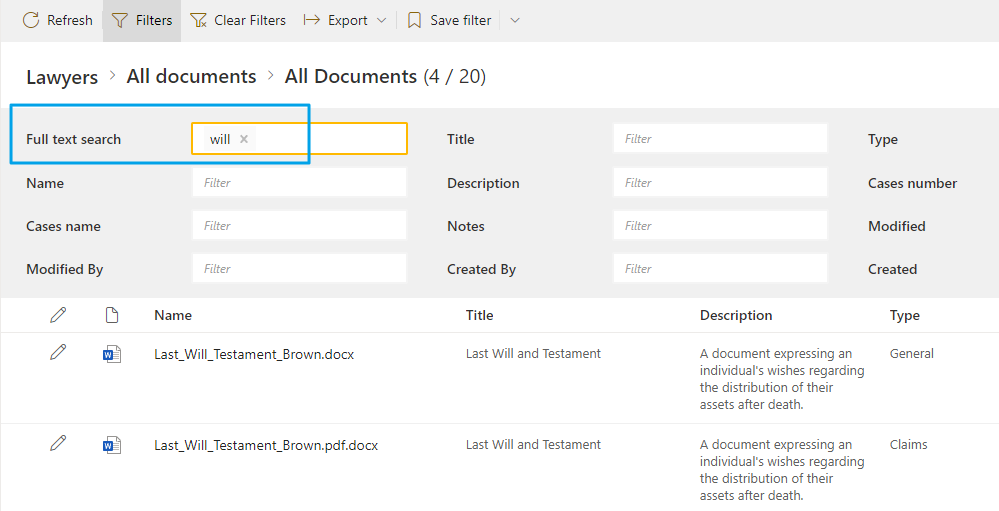
All lists include the Filters function, which allows you to gain additional search features, such as a full-text search option that can scan documents for a specific text value.
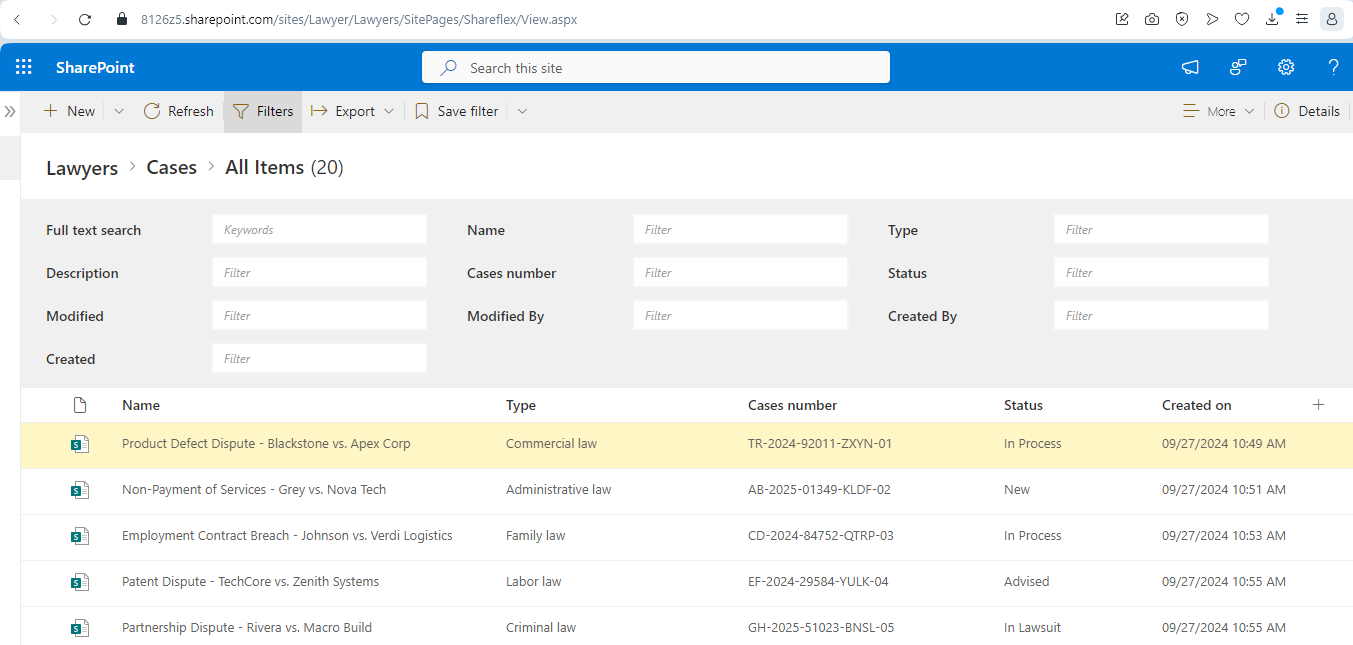
Full-text searching for documents (such as Word) must be performed in the All Documents list and not in the cases list.
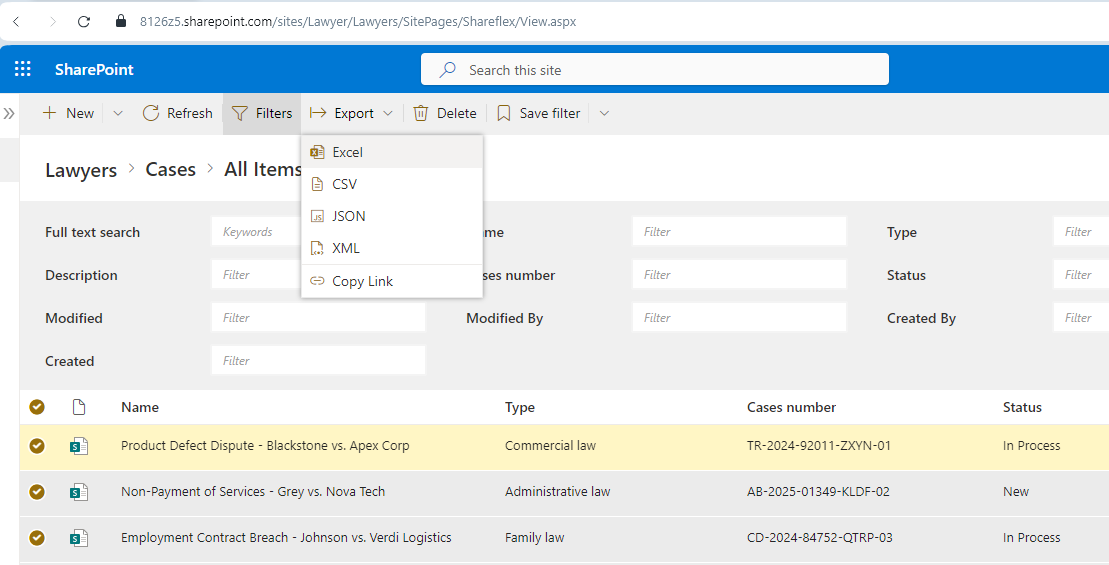
Each list has an export function to Excel, for example, for selected items or all items in the list. You can select all items in the list using the red-marked checkbox.
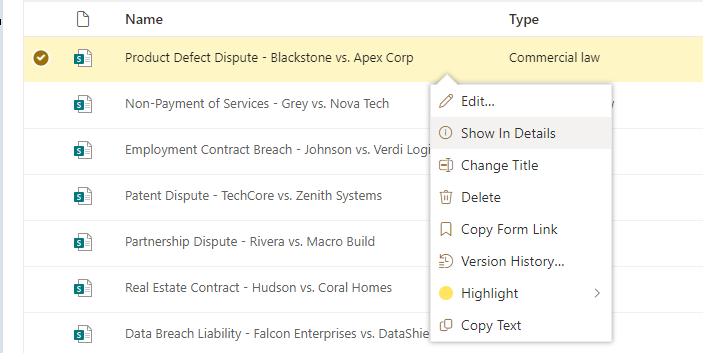
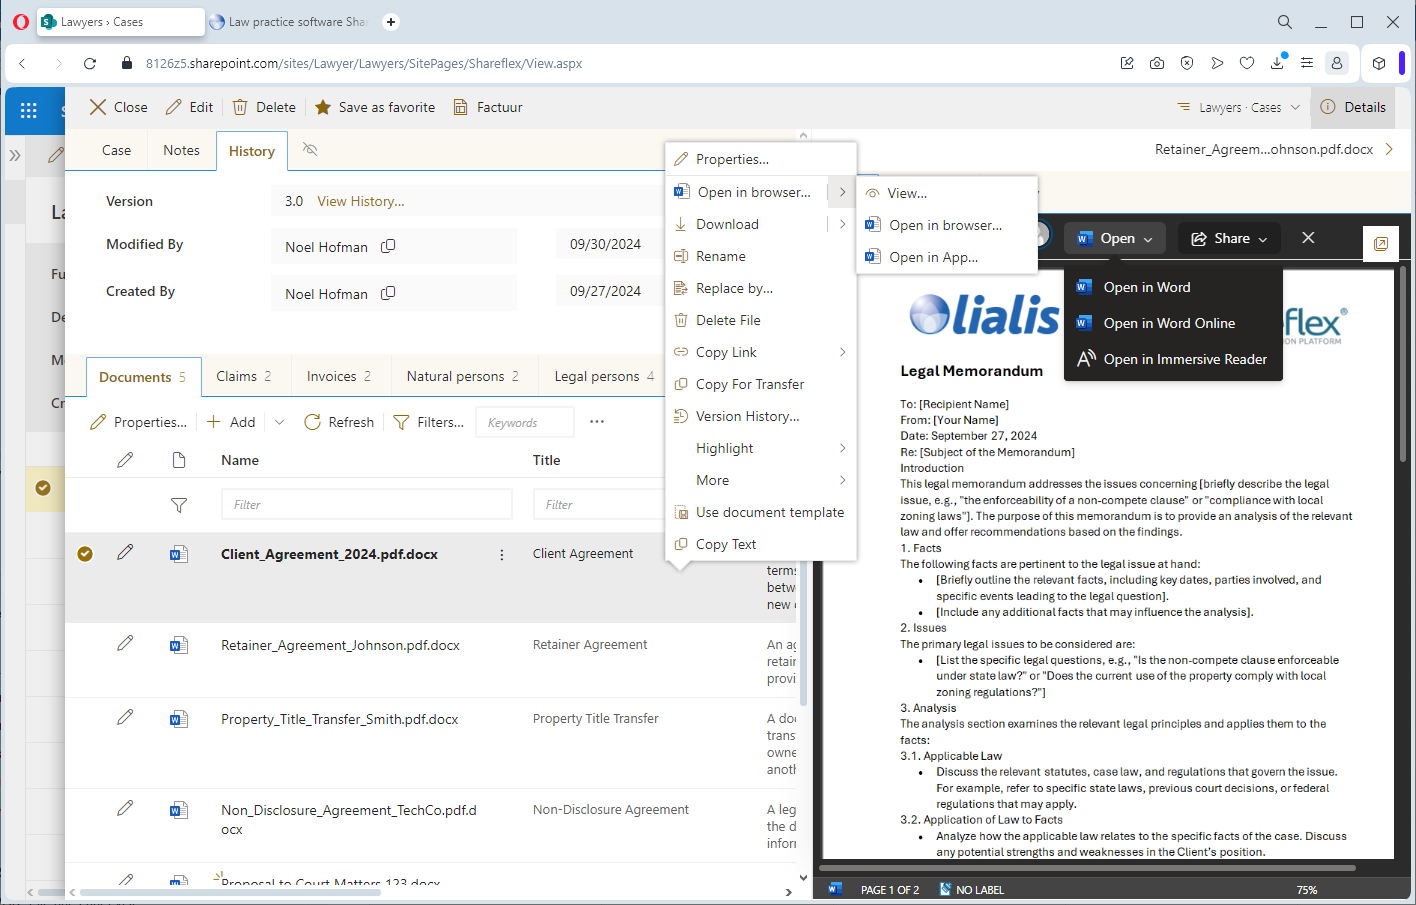
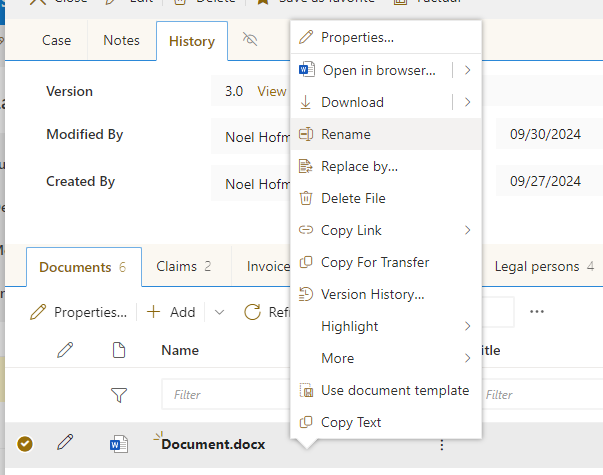
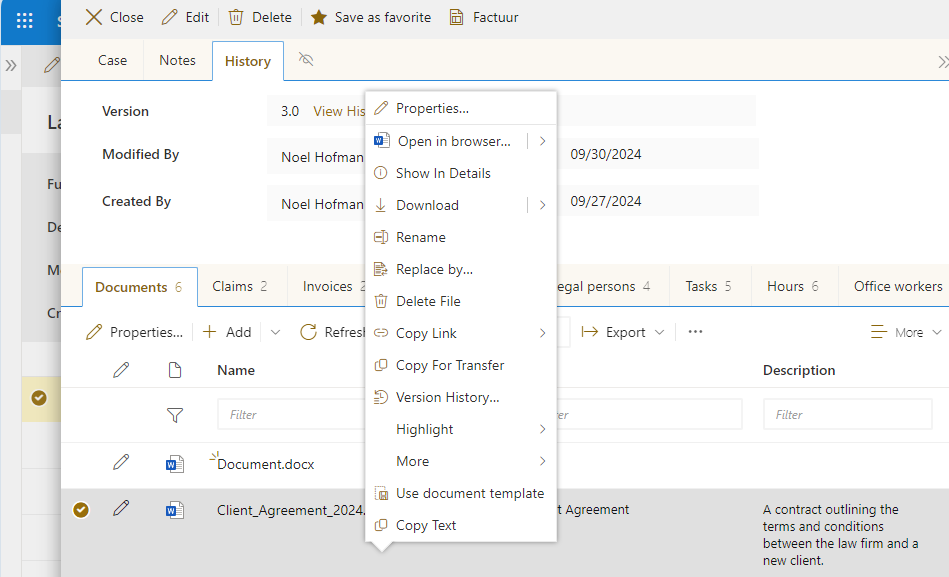
Throughout the application, you have access to a context menu (right-click) with various options such as delete, edit, etc.
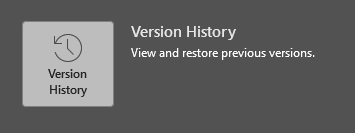
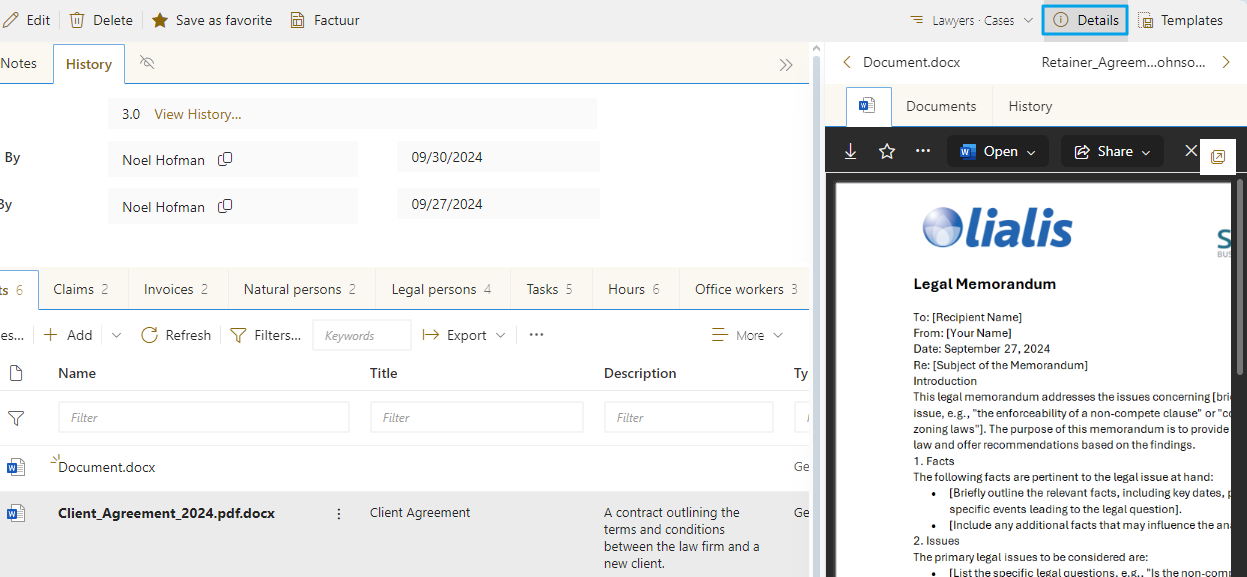
All data includes a comprehensive version log and recovery options, such as case history.
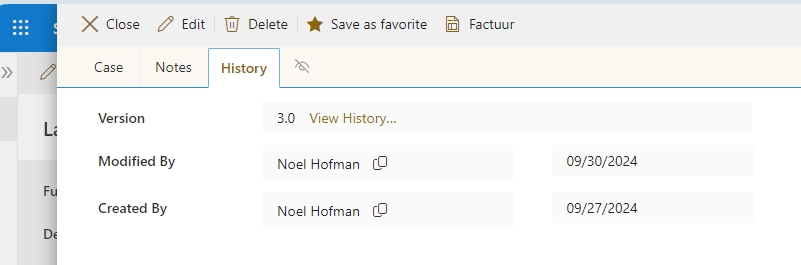
Each version can be viewed and restored via the action ribbon or the mouse context menu.

The text marked in yellow indicates that these values have been adjusted compared to the previous version.
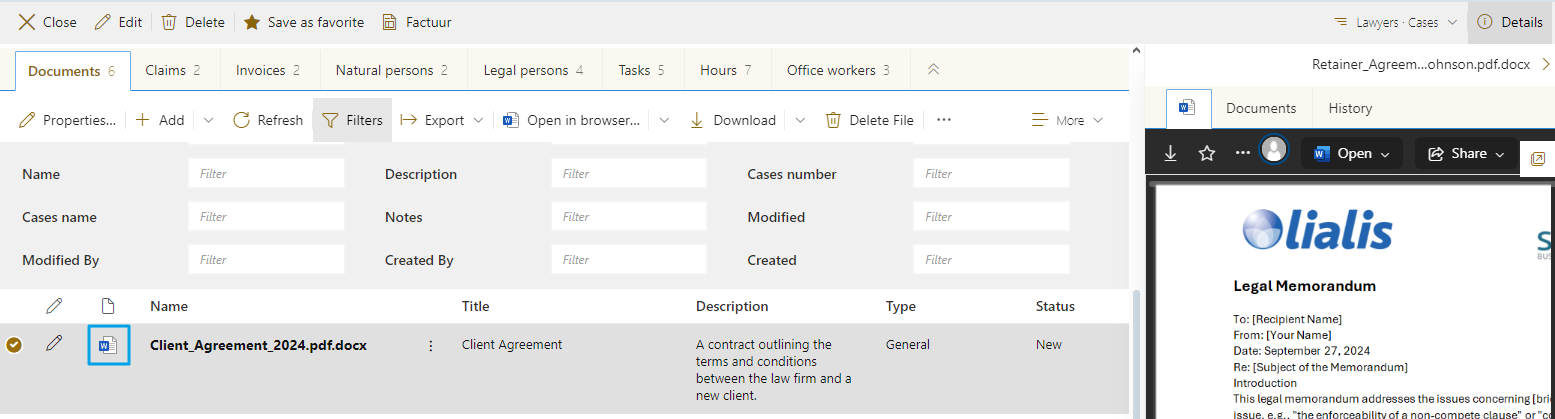
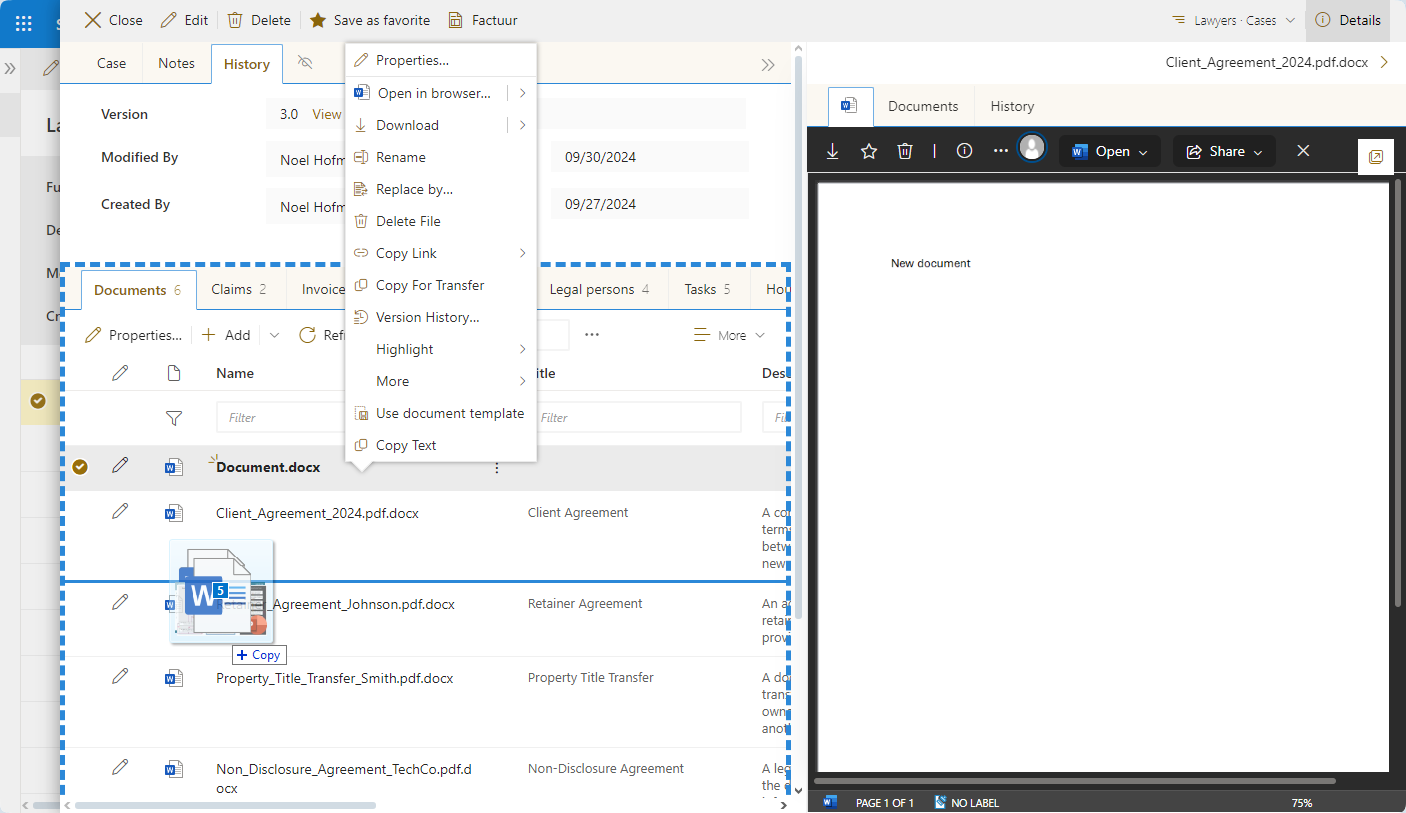
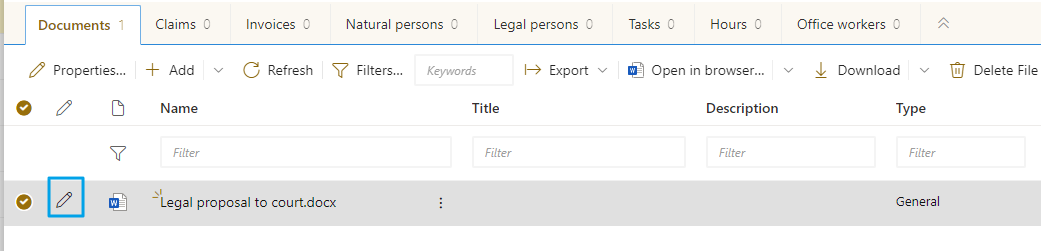
Click on the Word icon to show a preview of the Word document in the right part of the screen.
Here’s the translated text:
Edit the document in Word Online or the Word app via this menu.
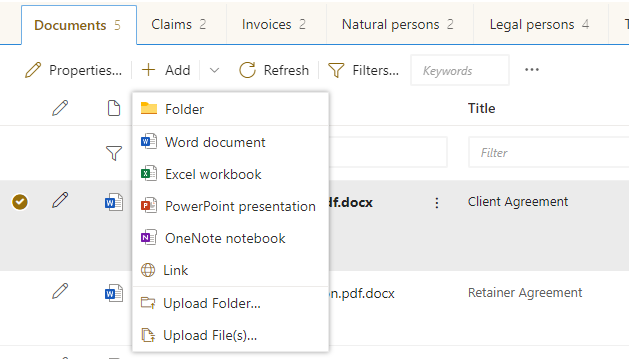
With the ‘Add’ button, you can create new blank MS Office files.
A new Word document defaults to the filename “Document,” which you can change here.
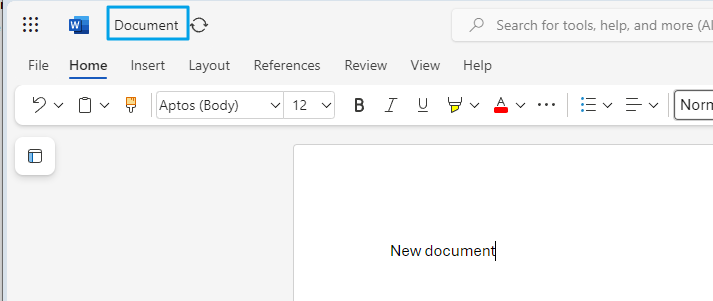
Or through the context menu with the ‘Rename’ option.
Of course, you can drag documents from your PC into the case.
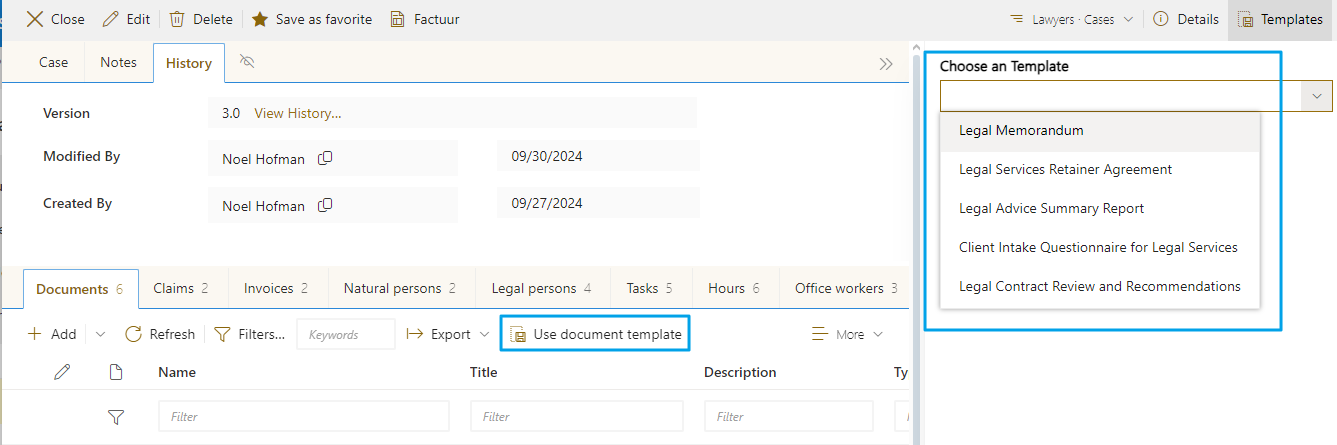
You can also create new documents using the document templates (MS Office templates) that you can set up under the Templates section. We will explain this in detail later in this guide under
Every change to a document is saved directly in the case, so Ctrl+S is no longer necessary.

The right-click context menu is also available in the document list, offering many options for managing your documents.
The (Word) document change log is available in MS Word under File > Info.
As with Word Online, changes in the MS Office document are saved directly in the case in the PC Word app.
You can use the Details button to show a preview of the case, hours, document, etc., in the right panel.
This can be useful if you want to quickly browse through the cases for an overview.
In the dropdown lists, you can type letters to find the right choice. This is handy for long lists.
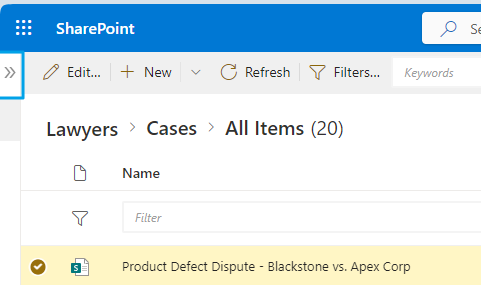
You can expand any data list to full screen, hiding the left navigation menu.
You can get the left menu back using these two >>.
The SharePoint recycle bin is, of course, supported.
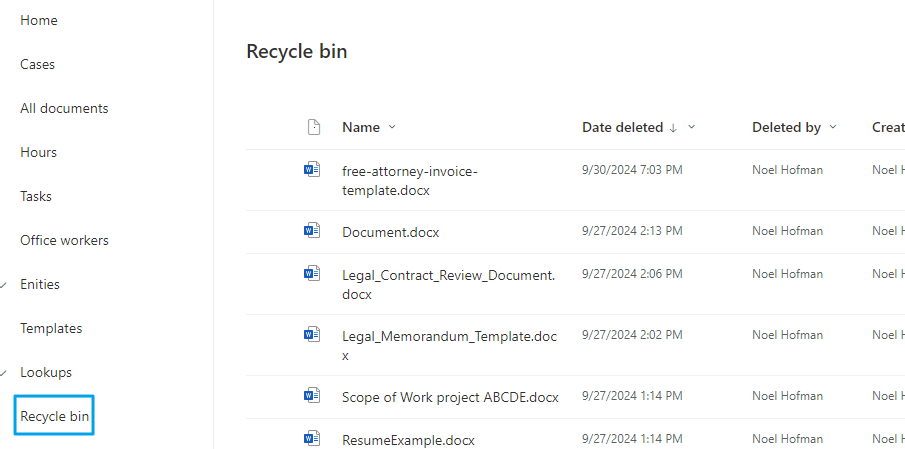
When you delete a case, all documents, tasks, hours, etc., are also deleted by the software.
Working with Cases
In this section, we will only discuss the specific issues that are important for managing your cases. Many general features have already been covered, so we will skip those now.
Click on New to create a new case and fill in all the required fields. For now, you can come up with the case number yourself.
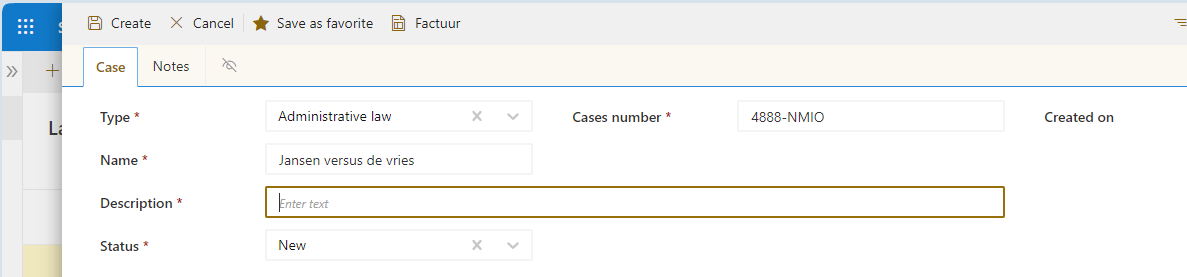
After you click ‘Create’, the lower part of the form will appear for storing all data related to this case.
New documents will be tagged with metadata, such as a title, description, and status. You can manage this metadata via the pencil icon.
You can now set various details (metadata) of the document. See below for an example.
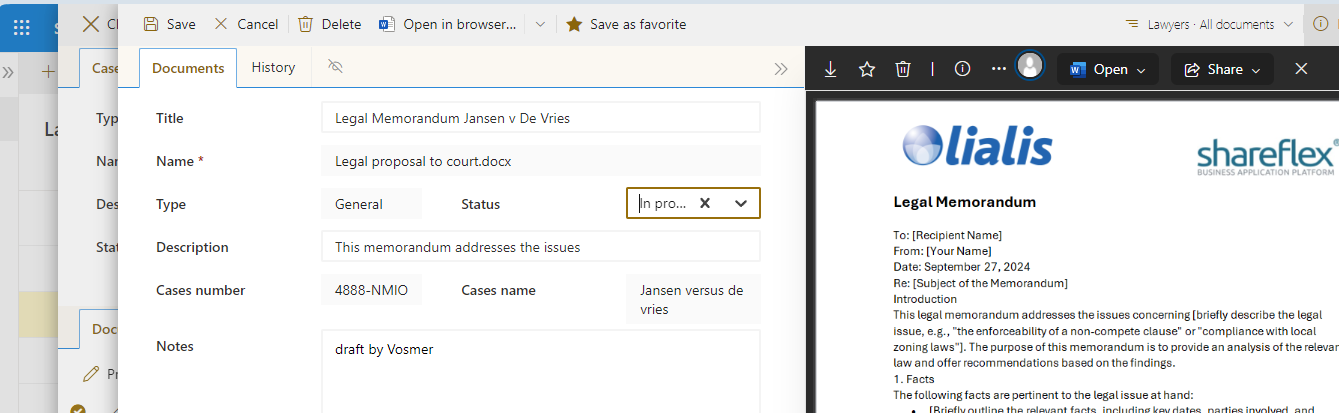
This metadata will then be available in the lists where documents are displayed, and you can use it in the filters.

The case number and name cannot be changed because the document is linked to the respective case.
Under the case, you can create three types of documents. In the example above, ‘General’ is set because the document was created under Documents, which is also not changeable.
Documents, Invoices, and Financial are functionally equivalent. The difference is only that you manage procedural documents under Documents, invoices under Invoices, and other financial data under Financial.
The ‘Use a document template’ button only shows the templates for the respective category. So, under Documents, no templates that fall under Invoices will be shown. You can manage this yourself under the ‘Templates’ section on the Cockpit homepage.
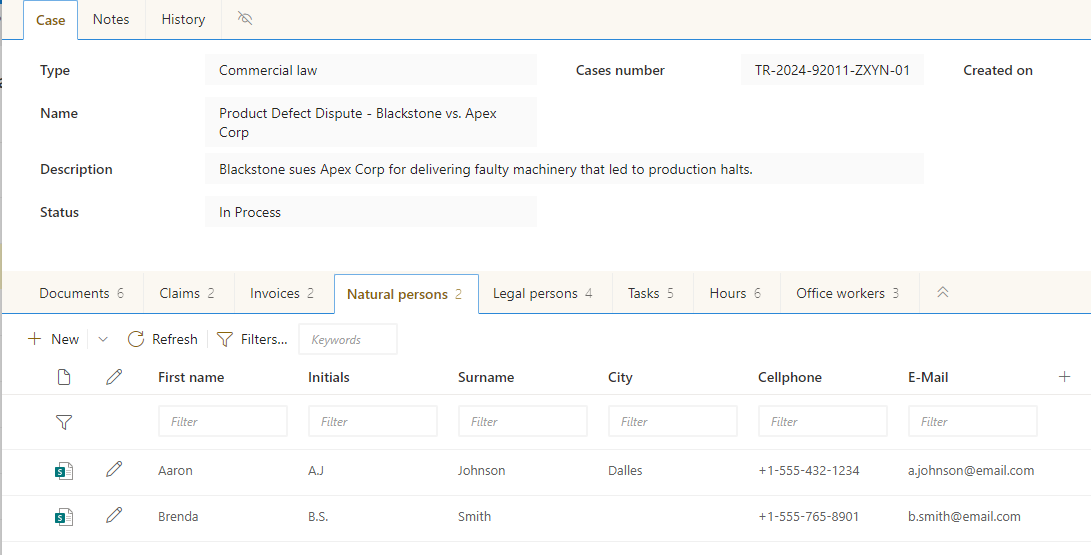
The tabs ‘Natural’ and ‘Legal Entities’ are self-explanatory. We are still working on functions to add existing (legal) persons to a case, allowing a (legal) person to be linked to multiple cases.
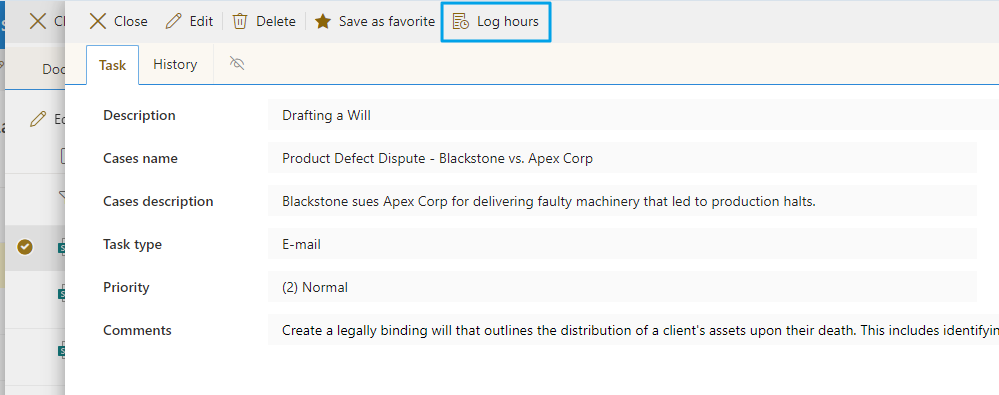
The task form needs no further explanation, except for the ‘Log hours’ button, which conveniently and quickly copies all task information into a time document.
Now for the time form. You set the rate yourself under reference data in the cockpit, section Types of Hours.
The start time is the time of your previous time entry, so if you are entering consecutive hours, this works efficiently. The end time is filled in for you when you start writing the hours.
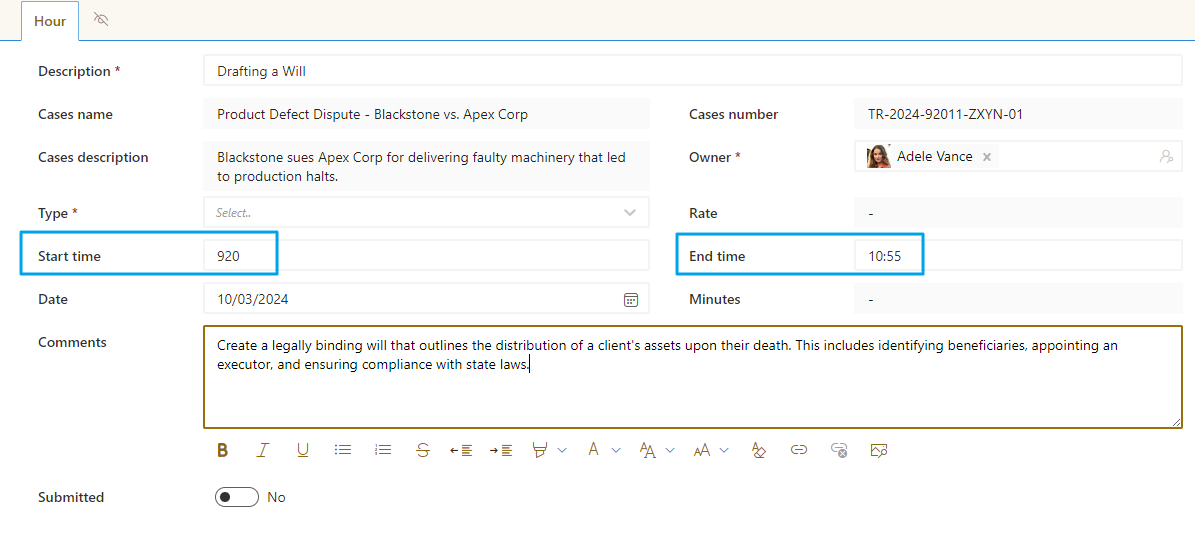
The rate is calculated based on the selected hour type, and these rates are configured in the lookup settings.

The checkmark in the ‘Submitted’ column means that these hours have been billed. You can use the marked button to mark multiple hours entries as billed or undo this.
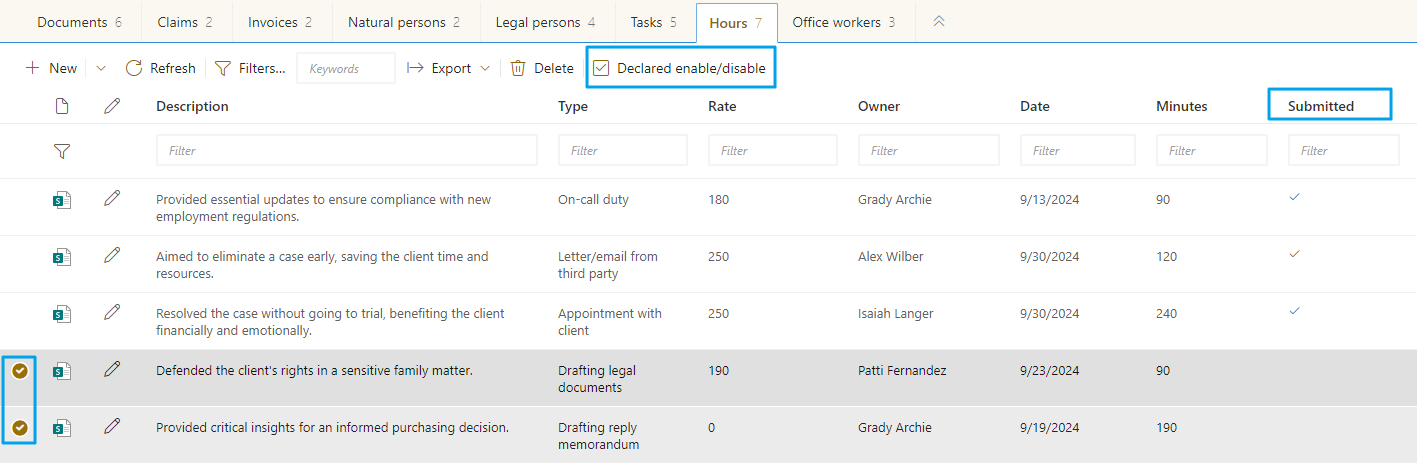
With the export to Excel and the filter ‘Billed’ set to no checkmark, you can export the billable hours to Excel and then manually import this data into an invoice. We are currently automating this operation. After billing, you mark the hours as ‘Invoiced’.
Upcoming Features
By the end of 2024, the following features will be added:
– Automatically generating an invoice for selected hours based on your own Excel invoice template.
– An app for your phone that allows you to view all case information.
– An email module that stores all emails related to the case, including metadata (e.g., email status).