
Shareflex integration with Microsoft Purview
The goal is to protect documents (Word, Excel, PowerPoint) in a SharePoint Online (SPO) Shareflex solution (like QM) when these documents contain confidential information. Shareflex stores the documents in a standard SPO library, so this approach will also work if you are not using Shareflex.
We want to achieve the following protection measurements:
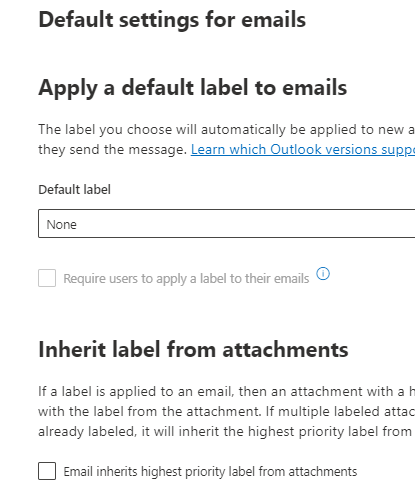
- Automatic labeling of documents at rest using a dictionary list, without relying on end users to follow instructions.
- Encryption of the document
- Prevent printing, download, sharing of the document
Before we explain how the requirements were accomplished, let’s first see how the goals are working out for the users of QM.
The outcome
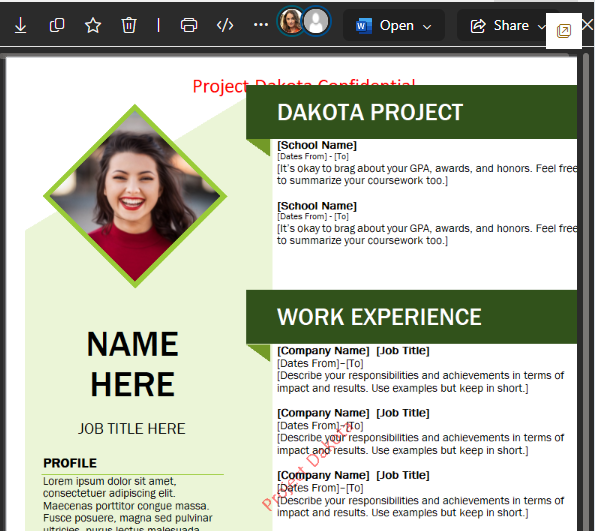
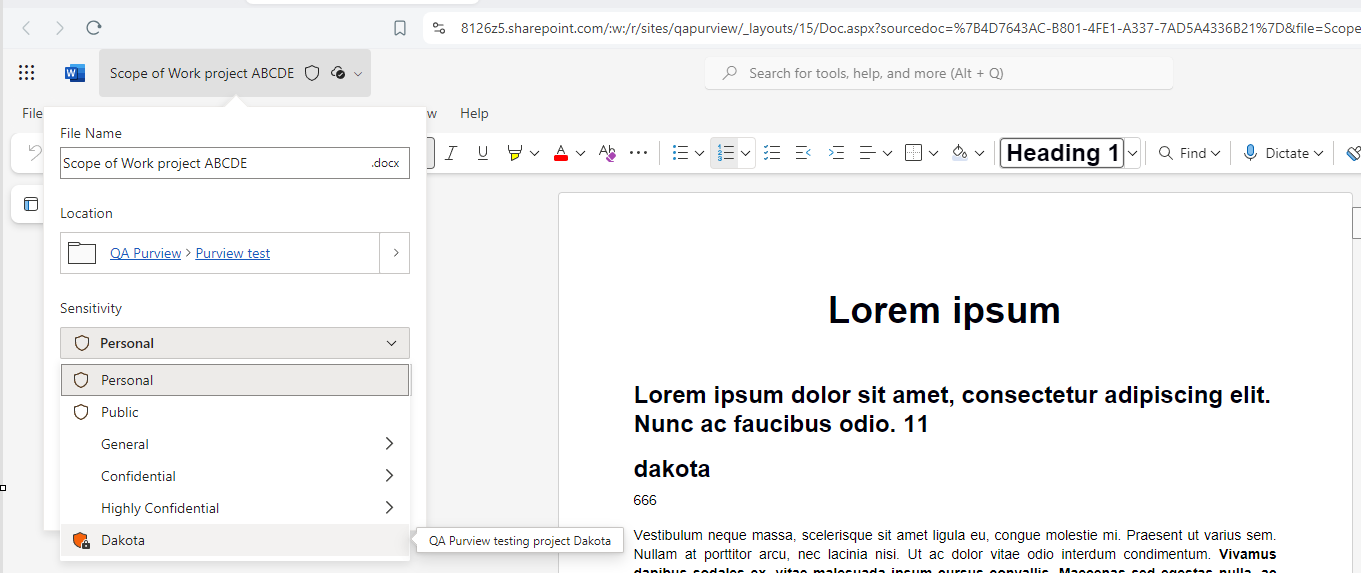
In QM New documents, these three documents contain the word “Dakota” inside the .docx files. The end users forgot to apply the Dakota policy, so now the system has to ensure the correct policy is applied.
Monday, 29 July, 11:50.

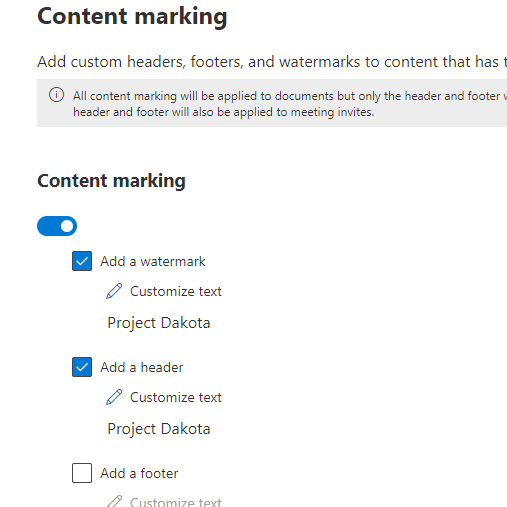
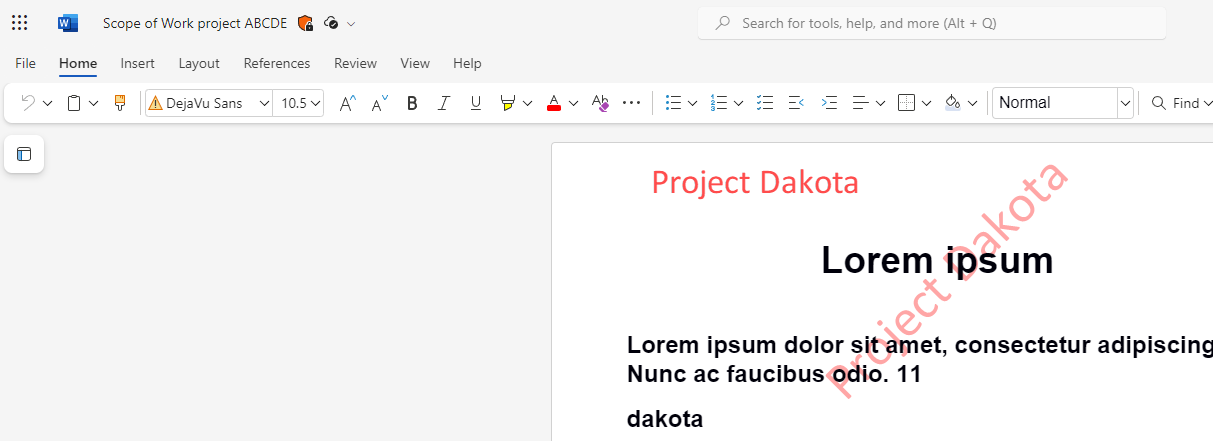
It takes a few hours for the auto-labeling policy to detect Word documents containing the string “Dakota” and apply the Dakota policy. The result is displayed in the image below. The red watermarks are applied.
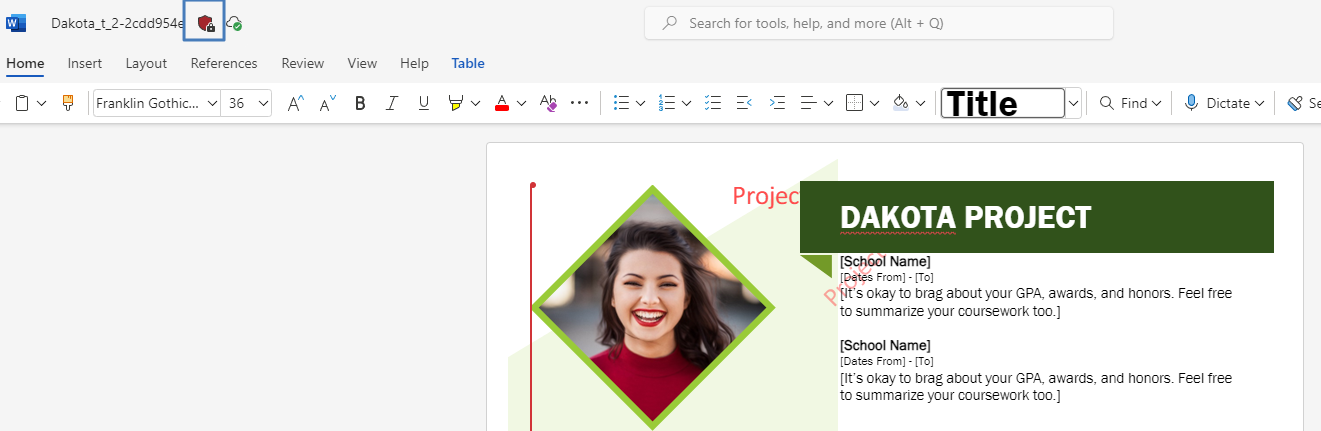
The same document is open in Word Online, and the red shield in the top-left corner indicates that the Dakota policy has been applied.
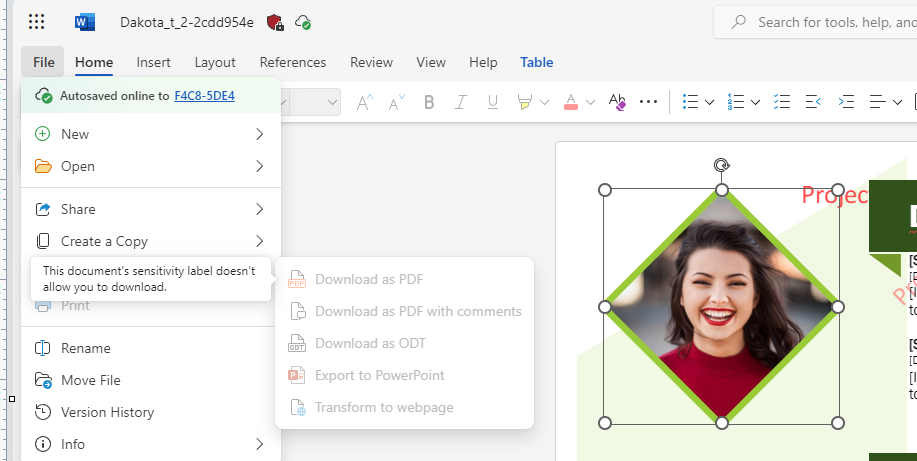
All sharing, downloading, and printing options are grayed out, so they are not available.

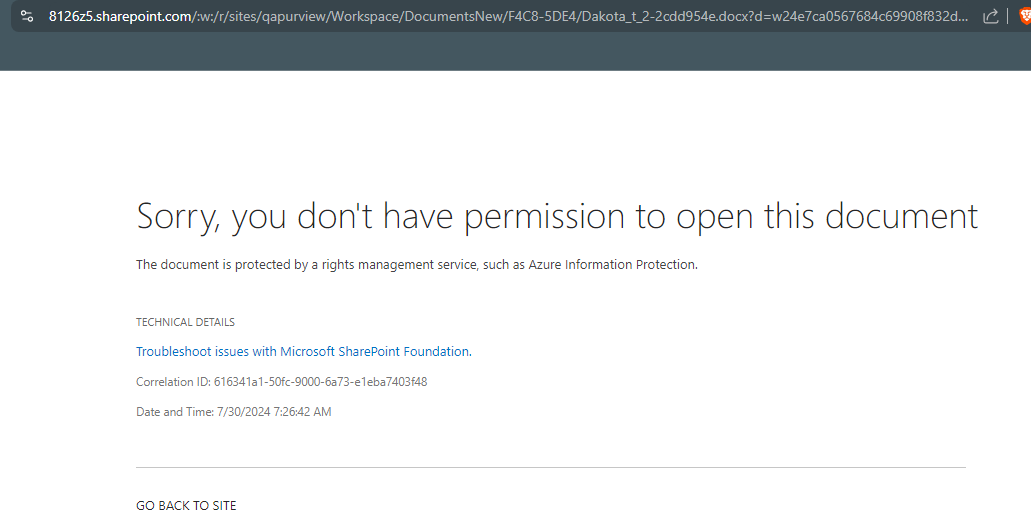
Other users cant open the file at all.
The configuration
There are two different methods for automatically applying a sensitivity label to content in Microsoft 365:
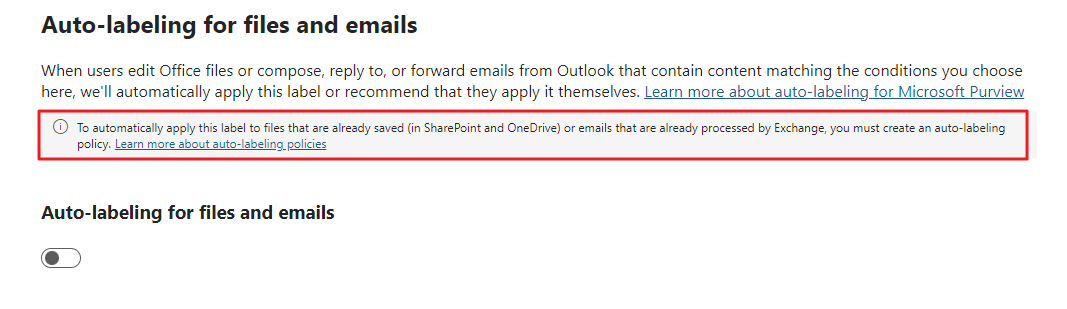
Client-side labeling when users edit documents or compose (also reply or forward) emails: Use a label that’s configured for auto-labeling for files and emails (includes Word, Excel, PowerPoint, and Outlook). This method supports recommending a label to users, as well as automatically applying a label. But in both cases, the user decides whether to accept or reject the label, to help ensure the correct labeling of content. >>> this does not fit our goal
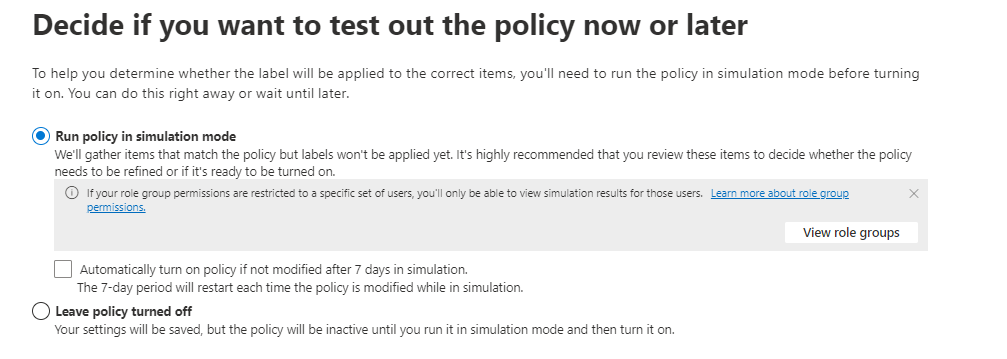
Service-side labeling when content is already saved (in SharePoint or OneDrive) or emailed (processed by Exchange Online): Use an auto-labeling policy. You might also hear this method referred to as auto-labeling for data at rest (documents in SharePoint and OneDrive) and data in transit (email that is sent or received by Exchange). For Exchange, it doesn’t include emails at rest (mailboxes). Because this labeling is applied by services rather than by applications, you don’t need to worry about what apps users have and what version. As a result, this capability is immediately available throughout your organization and suitable for labeling at scale. Auto-labeling policies don’t support recommended labeling because the user doesn’t interact with the labeling process. Instead, the administrator runs the policies in simulation to help ensure the correct labeling of content before actually applying the label. >>> this fits our goal.
Licensing Prerequisites
It’s crucial to ensure you have the right licenses in place for everything to work smoothly. In the MS development tenant, we have the following licenses:

E5 developer is free and we purchased one licence Enterprise Mobility + Security E5 Trial license as it also contains Intelligent data classification and labeling. You can purchase this license via the Marketplace option.
For production environments the following Microsoft 365 licenses are required to automatically apply sensitivity labels to your assets in Microsoft 365 and the Microsoft Purview Data Map:
- Microsoft 365 E5/A5/G5
- Microsoft 365 E5/A5/G5 Compliance
- Microsoft 365 E5/A5/G5 Information Protection, and Governance
- Office 365 E5, Enterprise Mobility + Security E5/A5/G5, and AIP Plan 2
Create a sensitivity info type
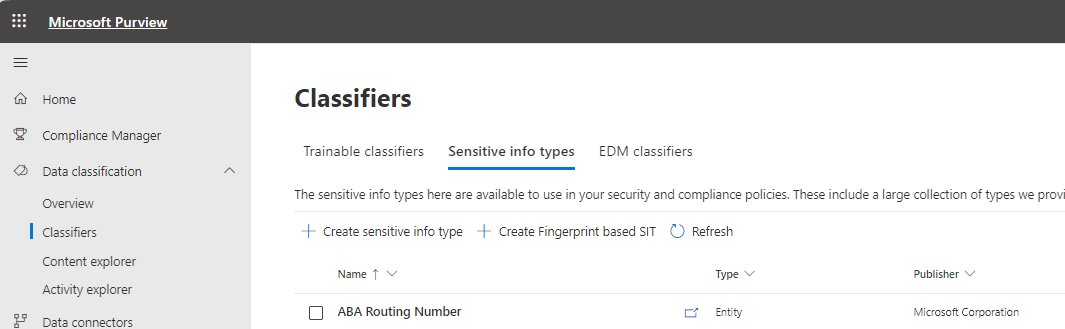
Navigate to https://compliance.microsoft.com (Microsoft Purview)
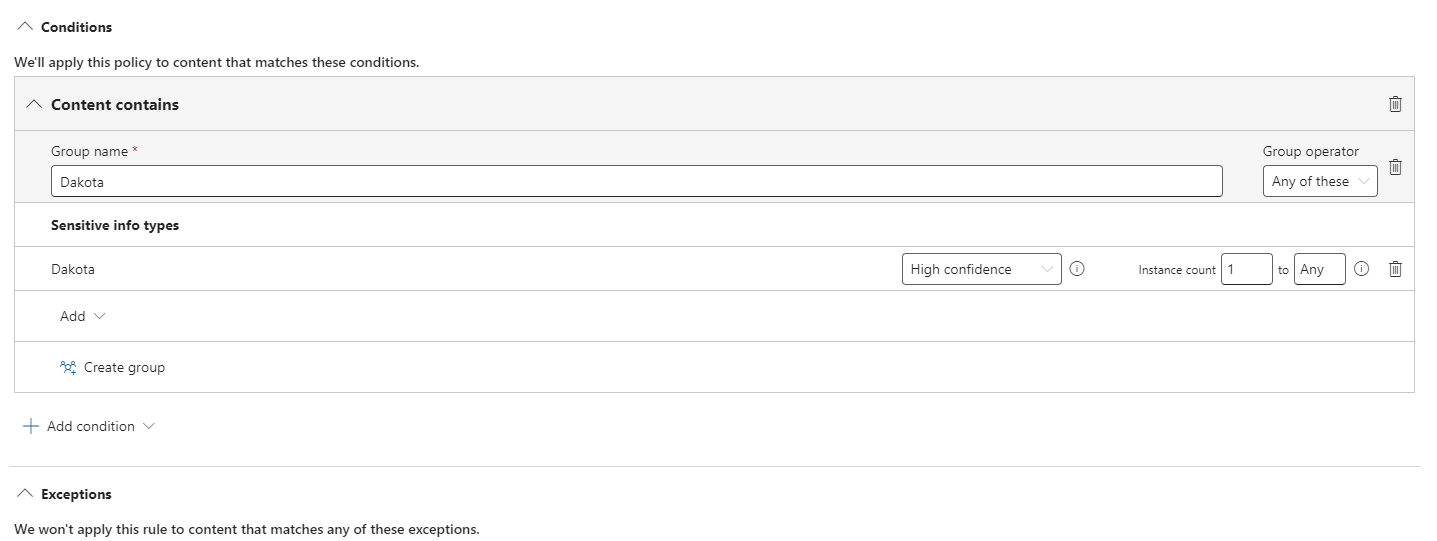
The goal is to auto label (word) documents when the string “dakota” is written by the user. For that we first need to create a custom classifier under Purview Data classification.
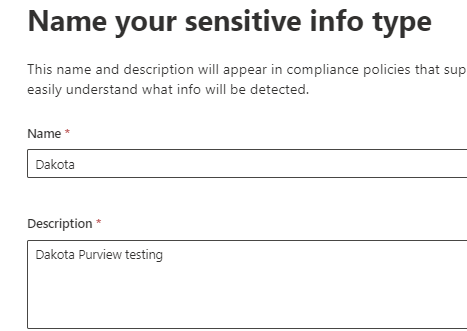
Create a pattern. The dictionary only holds the word “dakota”.


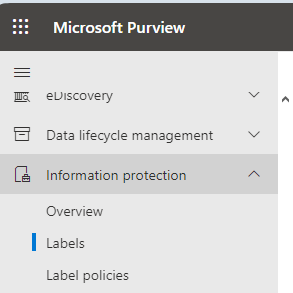
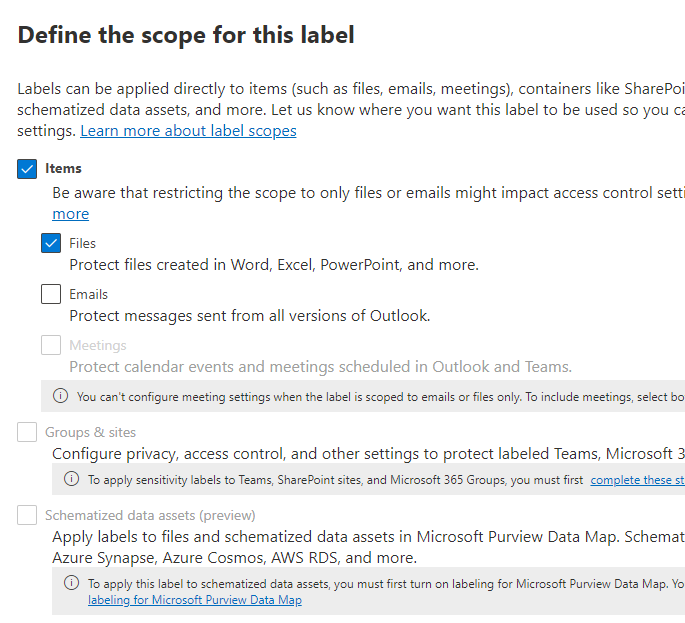
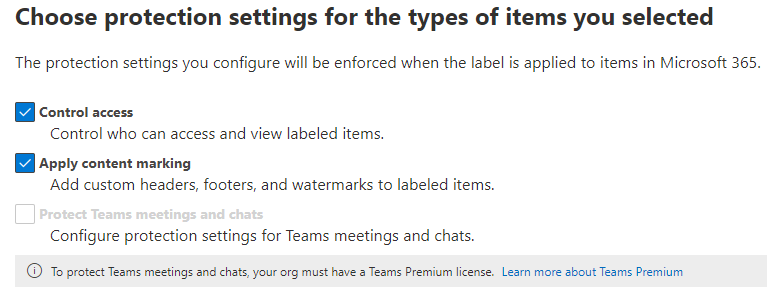
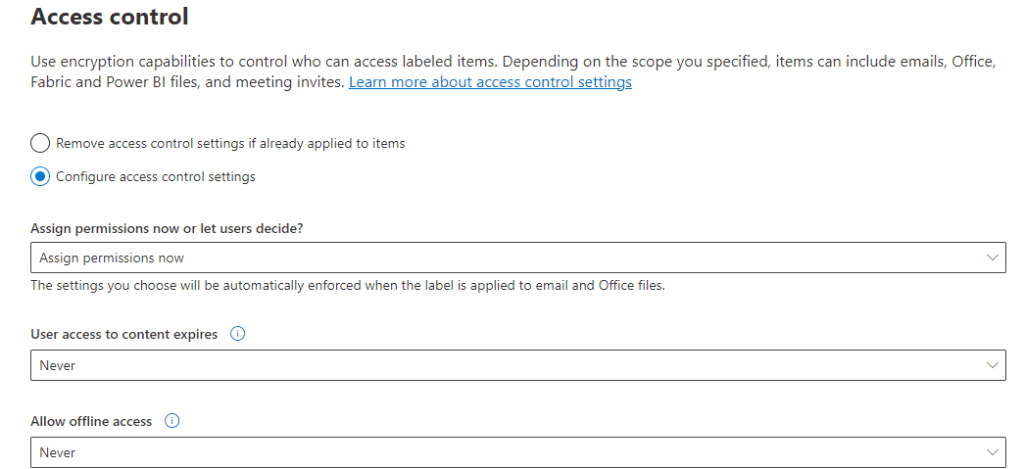
Create a new sensitivity label
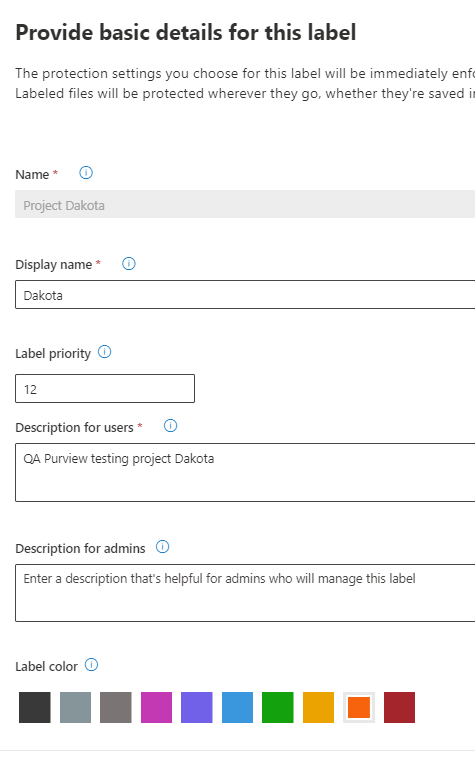
Tip: it takes a while before the new label policy is active, I change the colour to see when its active.
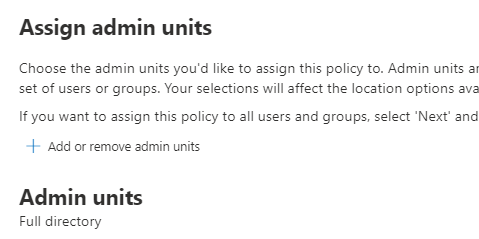
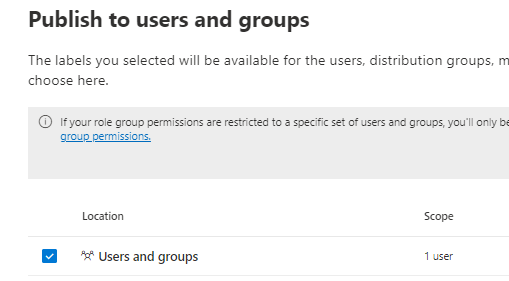
The following user is assigned, later on we add more users.

Now we use the sensitivity info type we created earlier in this post
The auto-labeling feature isn’t automatically labeling documents in Word files stored in SharePoint. I’m not sure what the purpose is, so let’s disable it and use an auto-labeling policy instead.
Save label.
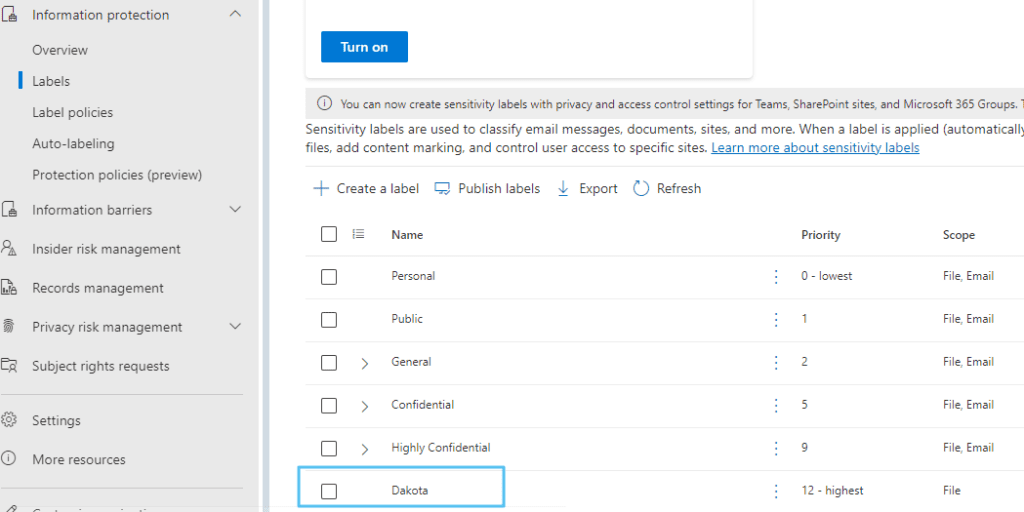
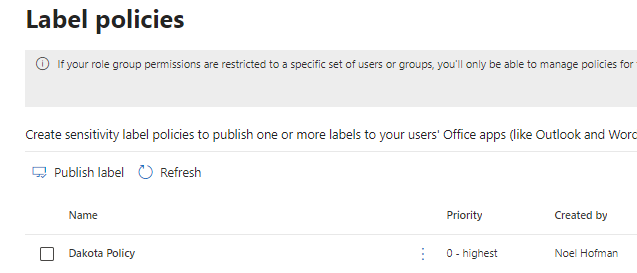
The label is listed
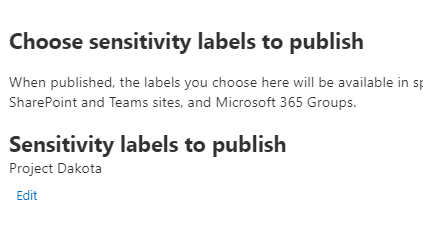
You must publish the label, else it wont be available for the users.
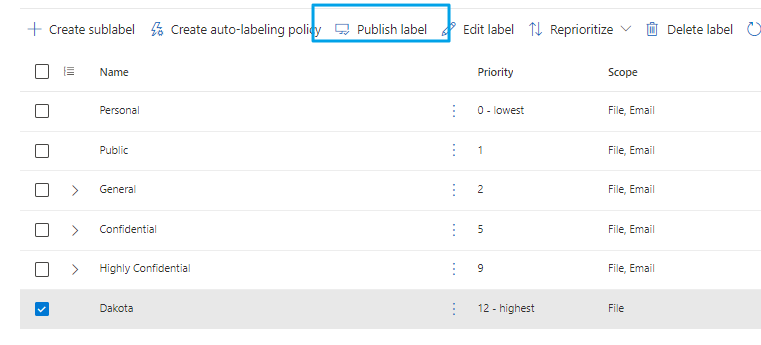


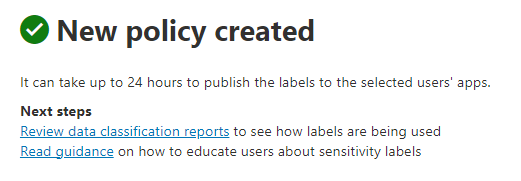
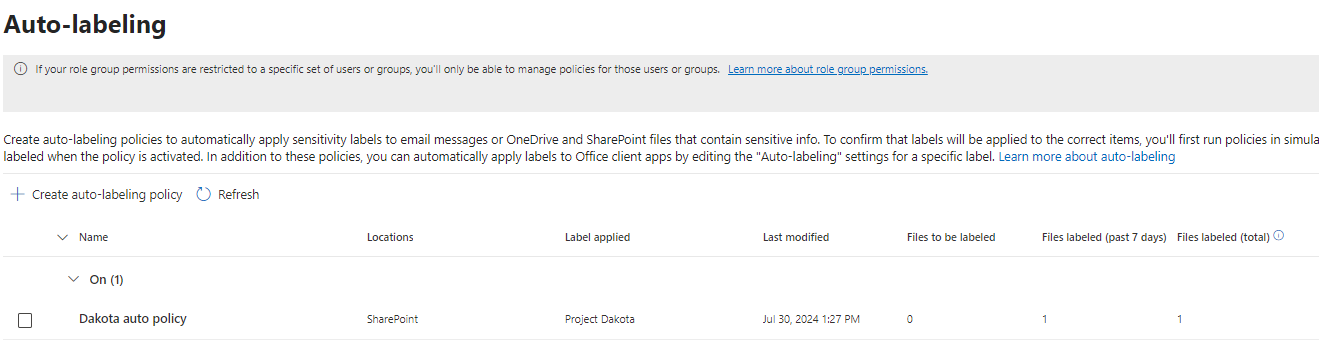
The new policy is listed. The publish label option displayed in the image below does the same as we just did, so there is no need to use this option now.
Users can choose to use the label (after 24 hours after publishing the label).
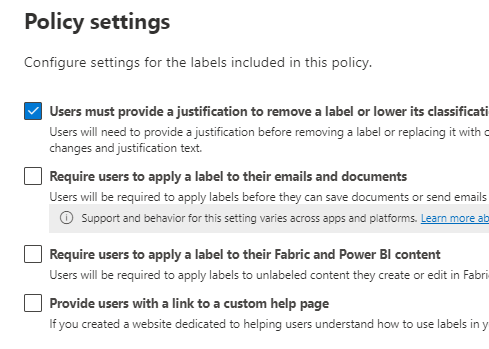
Users can freely change the sensitivity label back to personal for example, removing the watermarks.
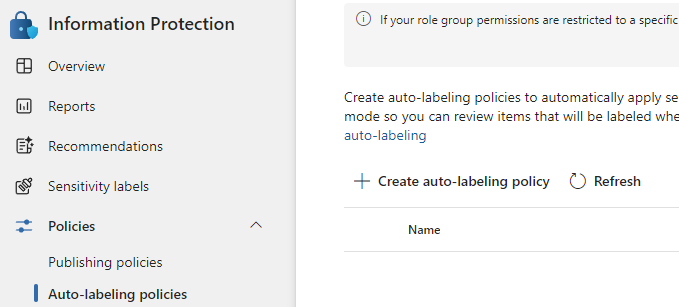
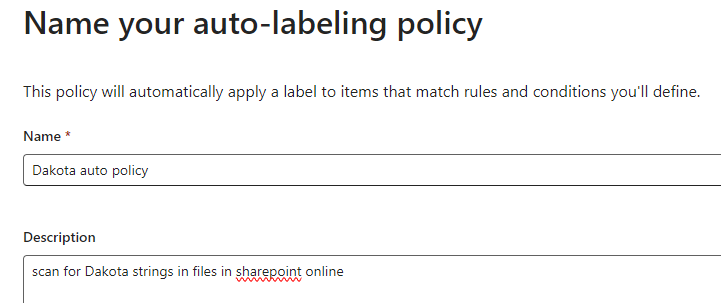
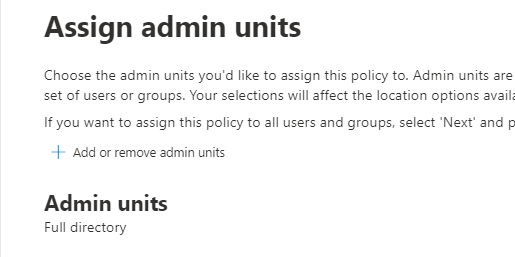
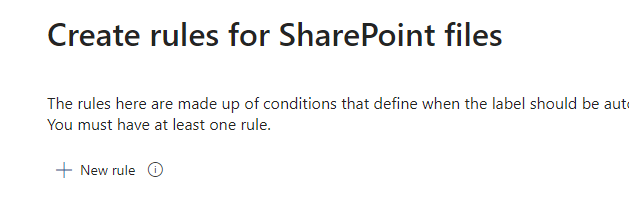
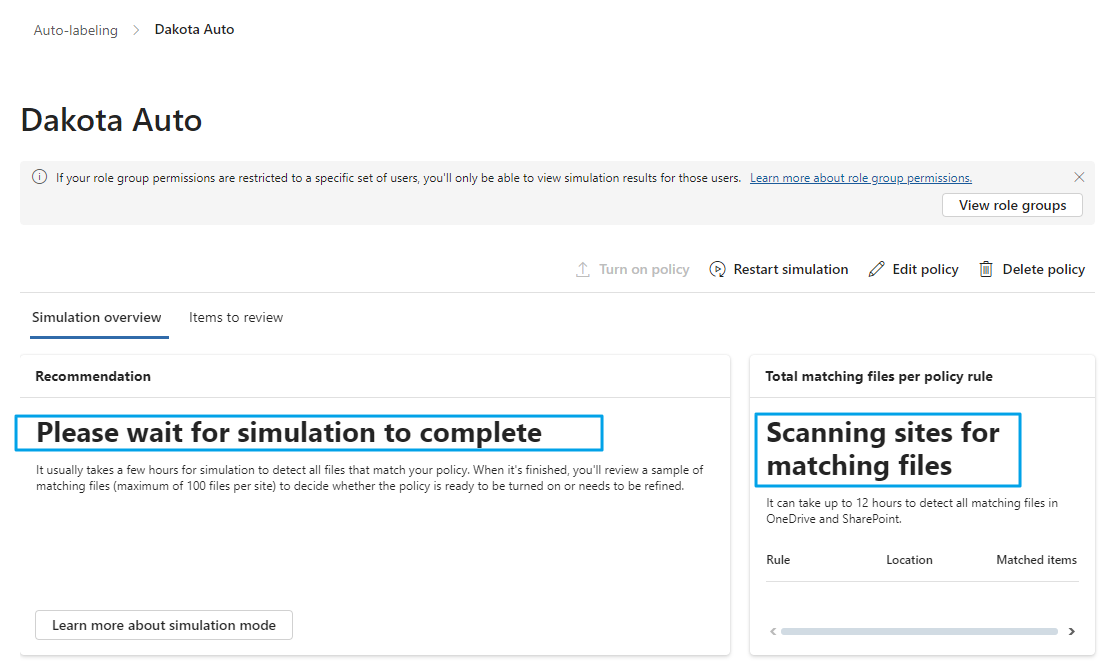
Create a auto-labeling policy
MS Purview auto labeling policy only supports docx, pptx and xlsx files.
Make sure you use the new MS Purview Portal, to prevent errors. Below instructions use the old portal, so don’t get confused by this.

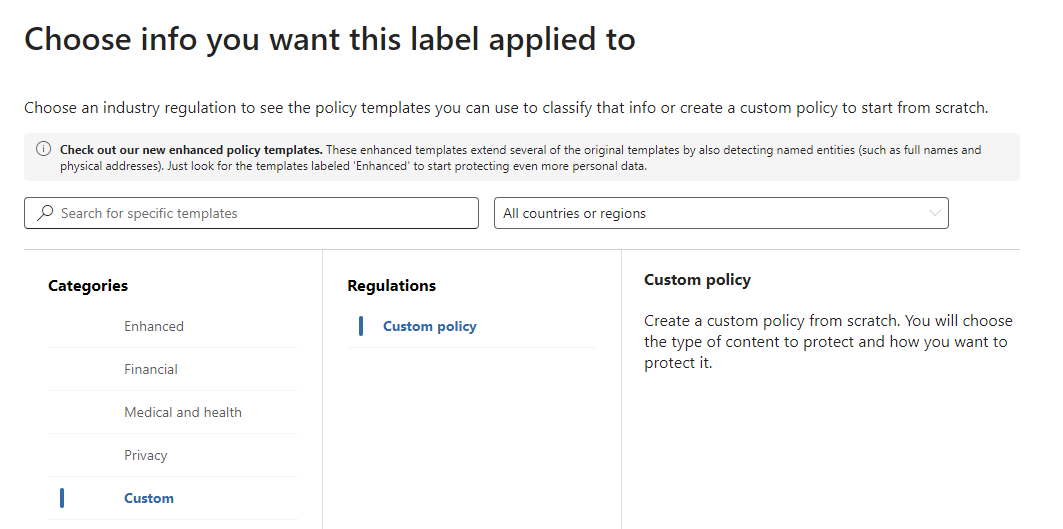

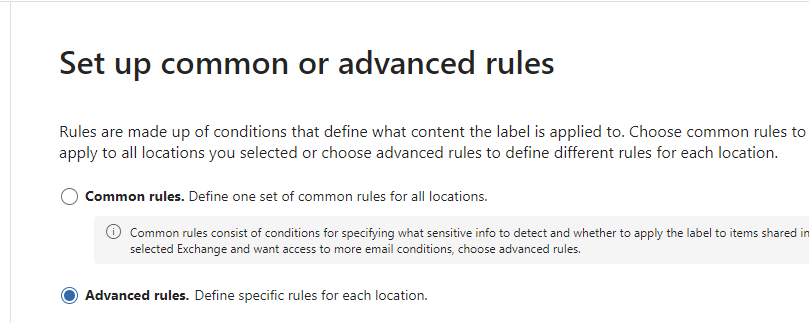
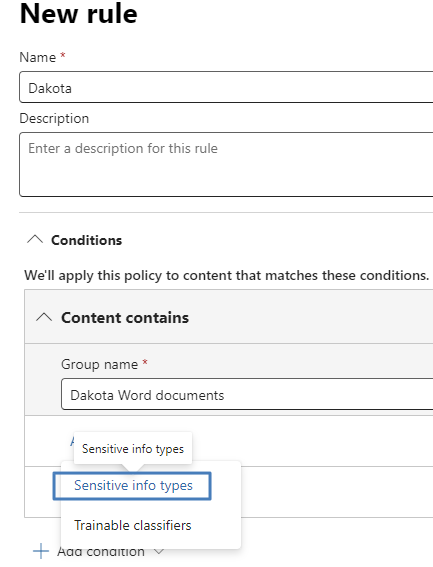
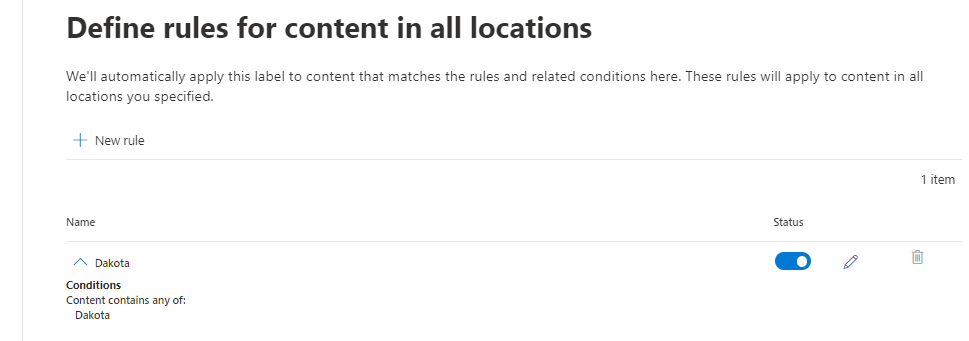
Now we can choose the previously created Sensitive info type Dakota
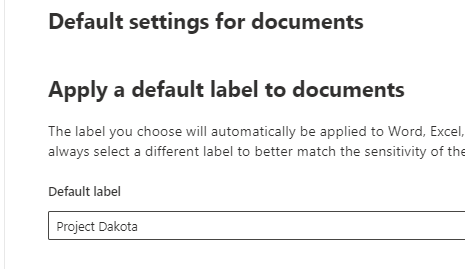
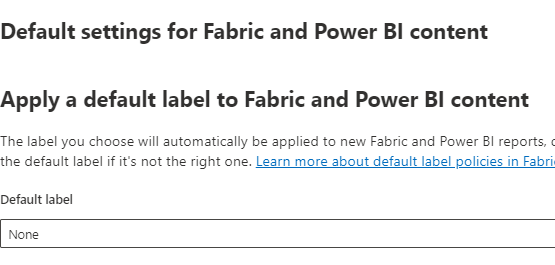
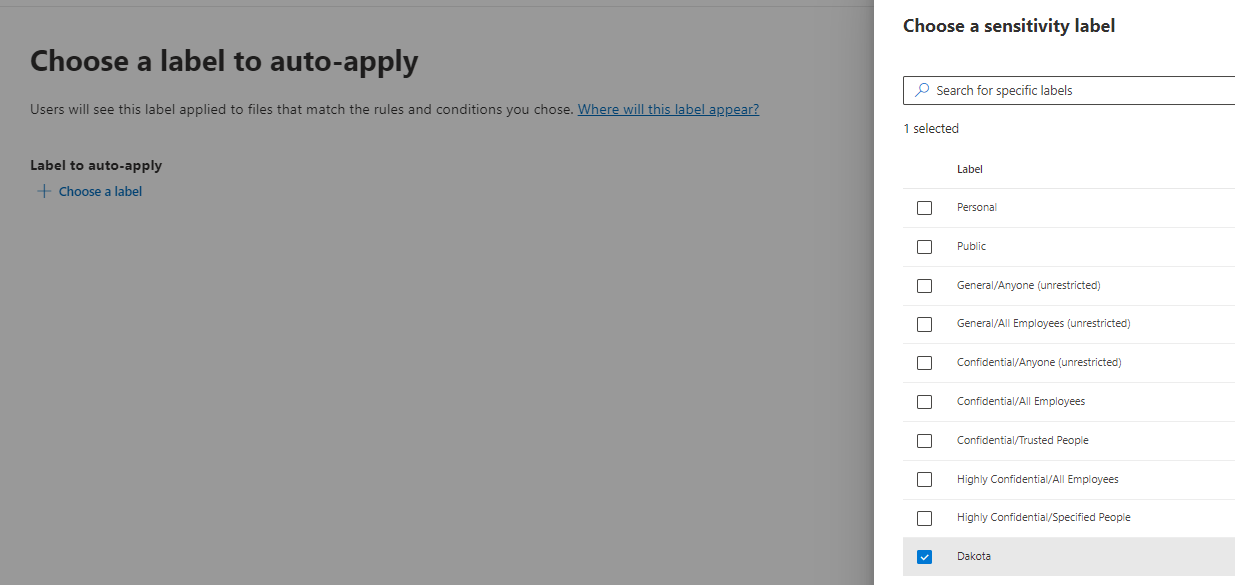
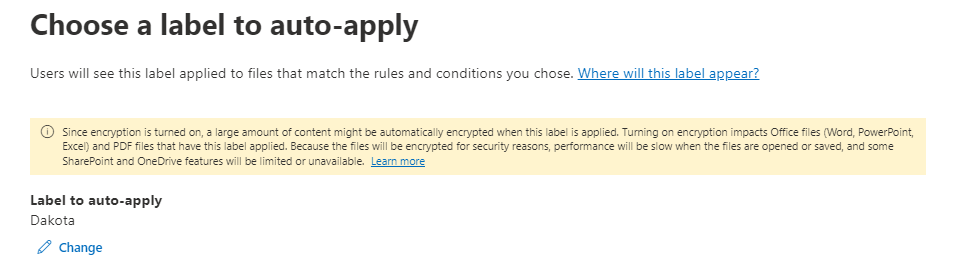
Now we can choose the previously created label
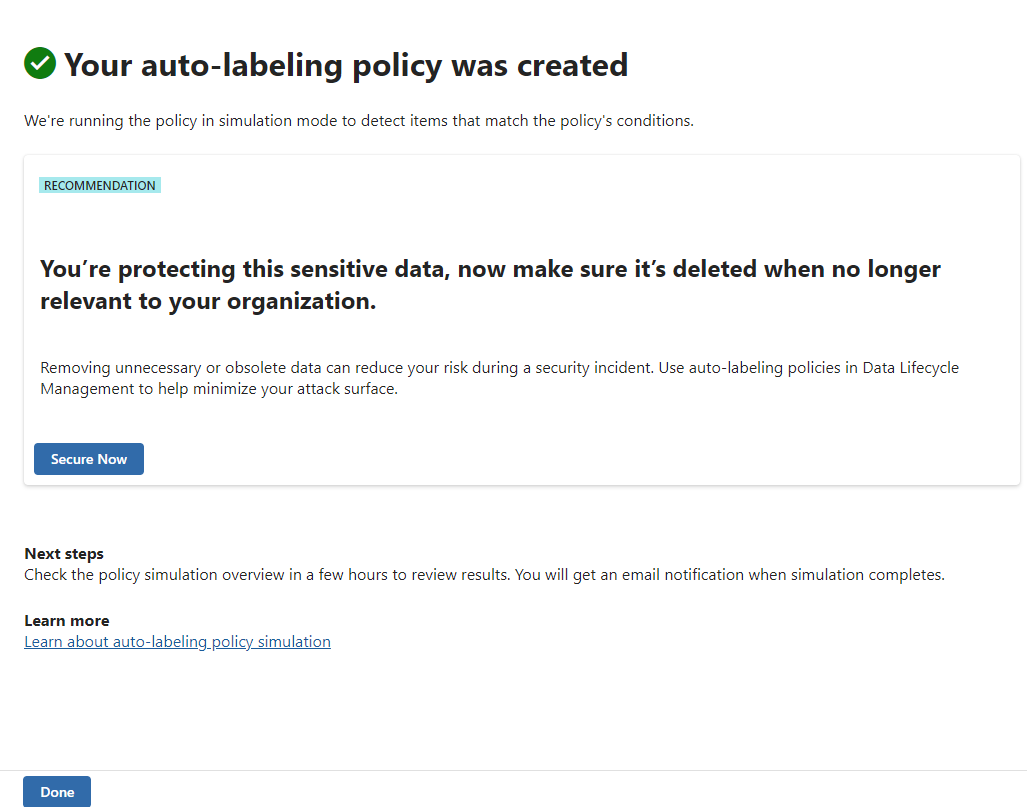
That’s it, we think. If this isn’t working for you, check the instructions below. We’re not sure if they’re needed. We did a lot of trial and error to sort this out and may have forgotten what’s necessary.
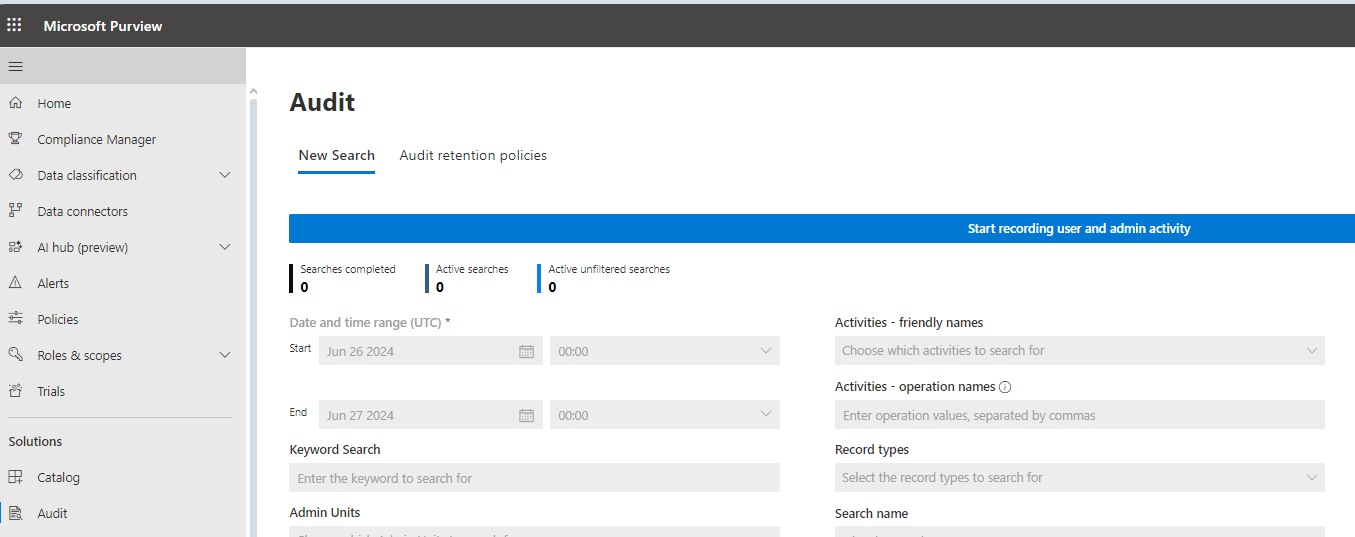
Enable Audit
Its advisable to enable the audit, maybe its used by the auto labeling stuff.
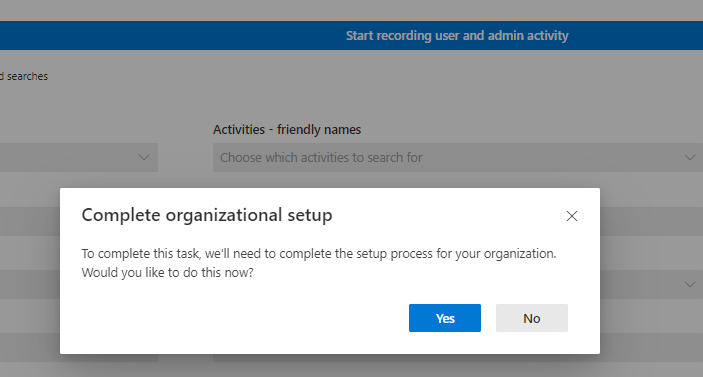
Navigate to Audit, and hit the button Start recording user and admin activity
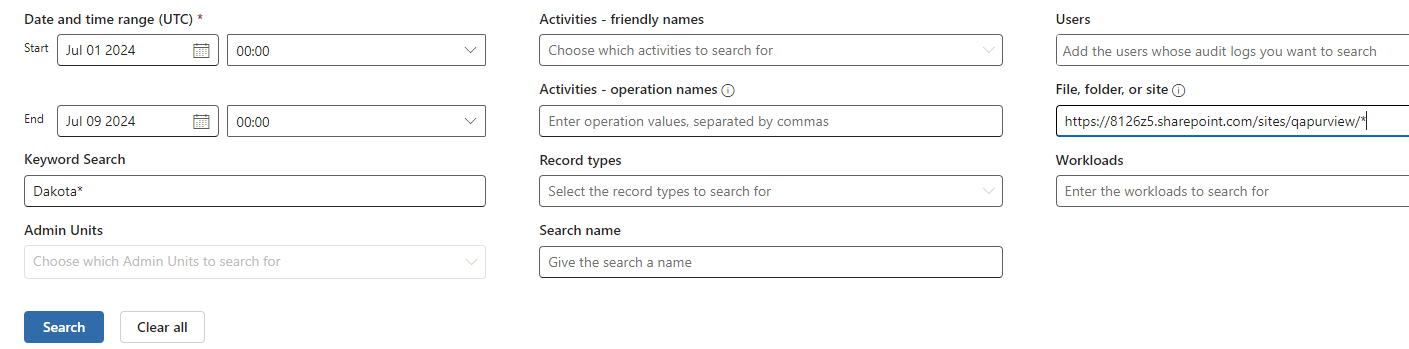
Currently the Audit search does not support searching for strings inside word documents, it can search after strings in file names though.
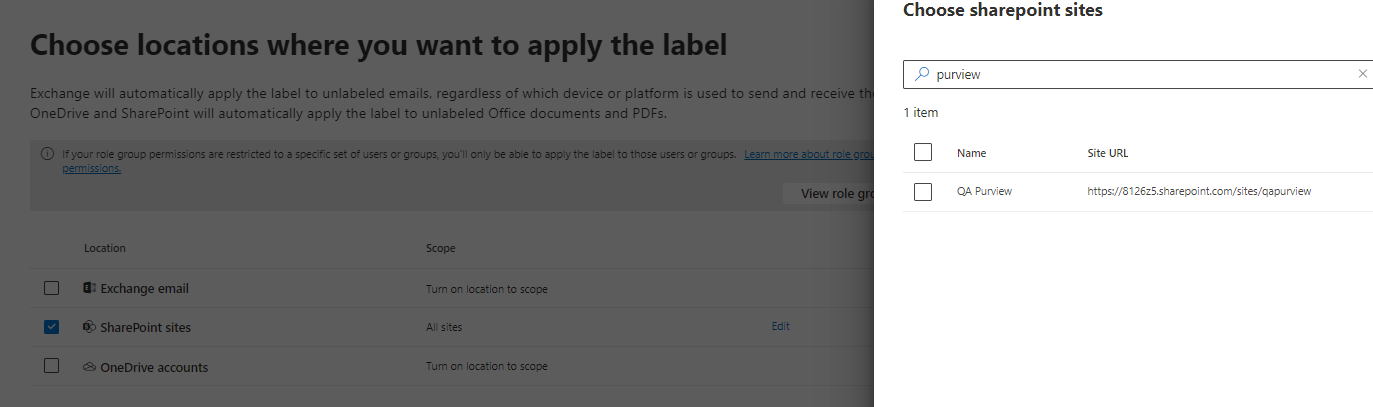
Lets conduct a search only after the string Dakota* in the site https://8126z5.sharepoint.com/sites/qapurview/*
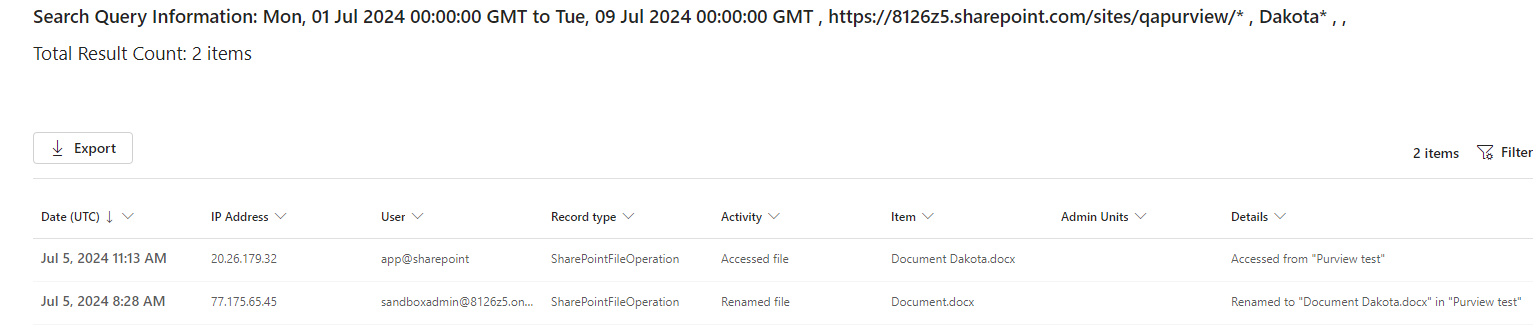
The result:
Navigate to https://security.microsoft.com (Microsoft Defender)
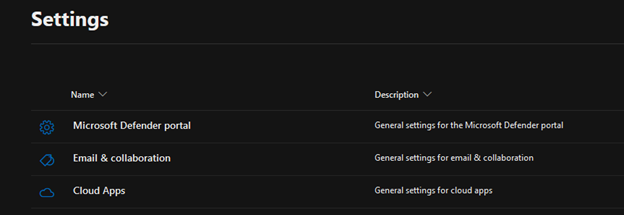
Navigate to System \ Settings

Choose Cloud Apps
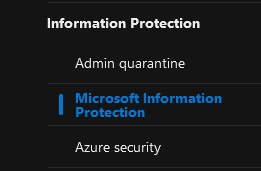
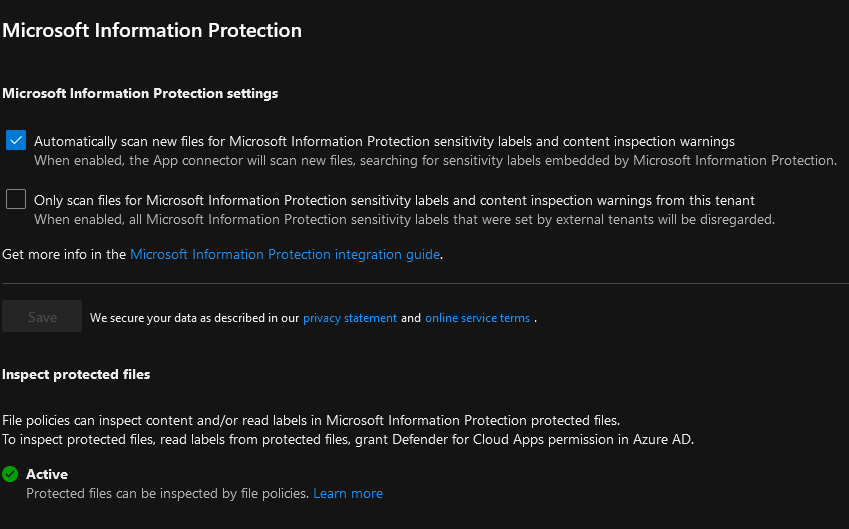
Choose Microsoft information protection
Make sure below is set.
Wait some hours before continue with next steps because office 365 files is greyed out in the beginning.
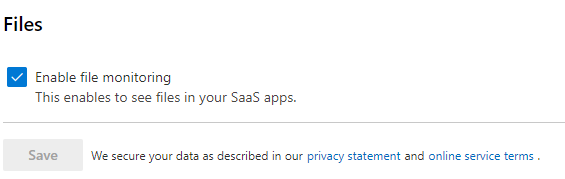
Enable below setting in defender under Settings \ Cloud Apps \ Information Protection \ Files, else you cant make a policy.
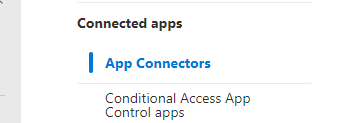
Choose Connected apps \ App Connectors
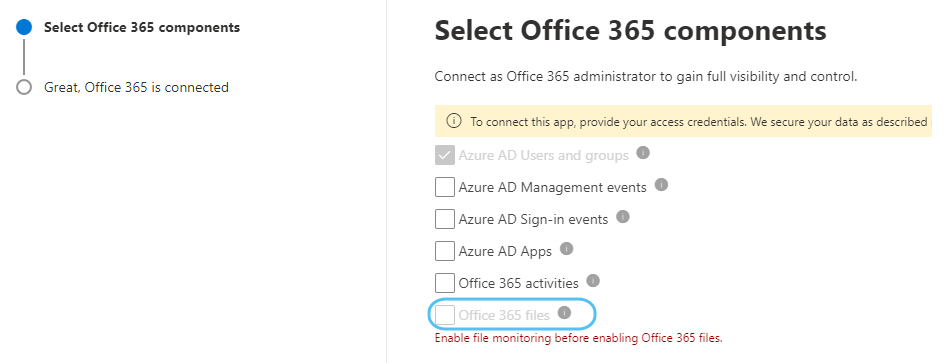
Connect an app, choose Office 365
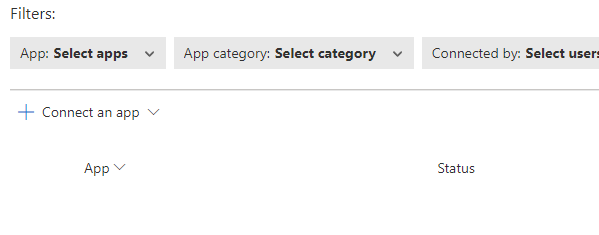
Choose Office 365 files (in the image below this option is greyed out, but when you follow this procedure its selectable now).
After saving it will go from:
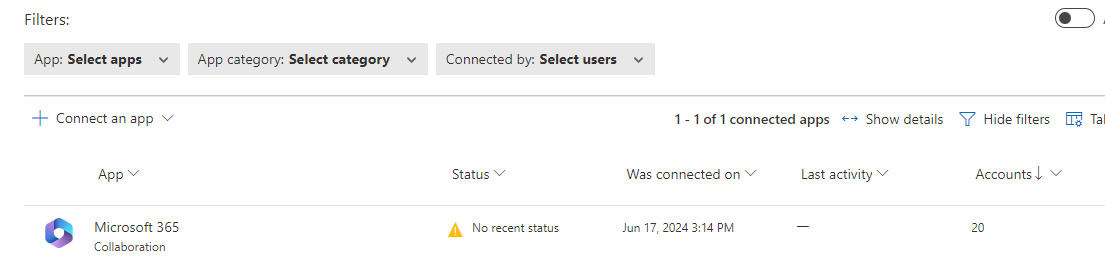
To below status after some hours.
